What the job actually involves, which machine to hire, how many sandings your floor has left, and where DIY stops making sense.
⚡ The Short Answer
Refinishing a hardwood floor is a rental job, not a purchase. Hire an orbital floor sander if your boards are flat and the finish is worn, or a drum sander plus edger if the boards are genuinely uneven. Buy the abrasive yourself — that is where the money goes.
The most important question is how much wood is left. Solid hardwood can take several sandings across its life. Once boards approach the tongue or the nail fixings, that floor is done. Check before you start.
The most commonly skipped option is screening — abrading just the old finish and recoating. If your floor is flat and the finish is worn but intact, this gets you 90% of the result for a fraction of the work, dust and wood removed.
A refinished hardwood floor is one of the most satisfying results in home improvement — and one of the most commonly botched. The two failure modes are damaging the boards with a machine that removes too much, and running out of time or abrasive halfway through.
Both are avoidable with honest planning. This guide walks through the whole project: assessing the floor, choosing the machine, the grit sequence, edges and corners, finish selection, and the point at which hiring a professional is the better call.
Assessing Your Floor
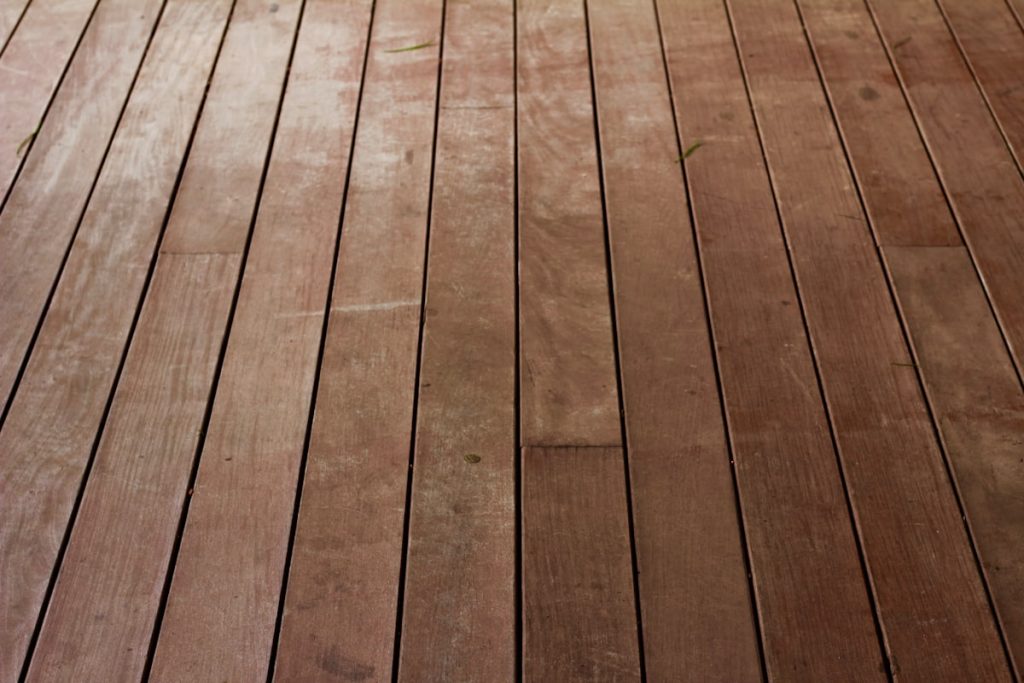
Before booking anything, work out what you are dealing with. Five checks, none of them difficult.
- Solid or engineered? Look at a board edge at a threshold or vent. Solid wood shows the same grain through the full thickness. Engineered shows a thin top layer over plywood or HDF. This single check determines whether an aggressive machine is safe.
- How flat is it? Lay a straight edge or a long spirit level across the boards in several places. Gaps underneath mean cupping, which needs a drum sander to level. If it sits flat, you do not need one.
- Is the finish worn through? Drop water on a traffic area. Beading means finish remains and screening is an option. Soaking straight in means bare wood.
- Any deep damage? Pet stains, water damage and burns often go deeper than sanding can reach. Black stains from urine, in particular, usually need board replacement rather than sanding.
- Loose or squeaking boards? Fix those first. Sanding will not stop movement, and a loose board sands unevenly.
🪵 The rule that saves floors: remove the least wood that gets you the result you want. Wood you take off today is wood the next refinish will not have.
How Many Sandings Are Left?
Hardwood floors are a finite resource. Every full sand removes material, and eventually the boards reach the tongue or the nail fixings and can no longer be sanded safely.
How to judge it:
- Look at a threshold or vent cut-out where the board’s edge is visible, and see how much wood sits above the tongue.
- Check for exposed nail heads. If fixings are visible or very close to the surface, the floor has been sanded close to its limit.
- Look at the gaps between boards. Very wide gaps can indicate a floor that has been sanded repeatedly.
- Ask the age of the house and whether previous owners refinished. A Victorian floor may have been done several times already.
Engineered floors are far more limited. The wear layer might allow one light sanding, or none at all. If you cannot confirm the thickness, treat it as screen-and-recoat only.
⚠️ If nails or fixings are close to the surface, stop. Sanding into a nail destroys abrasive instantly, can damage a rented machine, and throws metal. It is also a clear signal the floor has no sanding life left — screen and recoat, or replace boards.
Screen and Recoat vs Full Sand
| Factor | 🧽 Screen & recoat | 🥁 Full sand |
|---|---|---|
| Wood removed | Almost none | Significant |
| Time | Often a single day | A weekend or more per area |
| Dust | Modest | Very heavy |
| Risk | ✅ Very low | ⚠️ Real risk of damage |
| Fixes worn finish | ✅ Yes | ✅ Yes |
| Fixes deep scratches in wood | ❌ No | ✅ Yes |
| Fixes cupping | ❌ No | ✅ Yes |
| Changes colour / removes stain | ❌ No | ✅ Yes |
Screen and recoat works when the finish is worn but still covering the wood, the boards are flat, and you are happy with the existing colour. It buys years of life for a fraction of the effort.
You need a full sand when the finish has worn through to bare wood in traffic areas, there are deep scratches or stains in the timber, the boards are cupped, or you want to change the colour.
Many people who assume they need a full sand actually only need a screen. It is worth testing before committing — and it does not use up the floor’s finite sanding life.
Which Machine to Hire
- Orbital floor sander — the safer choice for flat floors with worn finish. Very hard for a beginner to damage a floor with one. This is the right answer more often than people expect.
- Drum sander + edger — the levelling combination for cupped, painted or badly worn boards. Powerful, fast, and unforgiving; it gouges if you pause with the drum down.
- Buffer with screening pads — for screen and recoat jobs, and for the final smoothing pass between finish coats.
- Edger — always required alongside either floor machine, since neither reaches the perimeter.
Full detail on the drum machine, including the technique that prevents gouges, is in our drum floor sander guide, and the tool-by-tool comparison is in choosing a sander for wood floors.
Handheld Tools You Will Need
Whatever you hire, some of the floor will need doing by hand. These are the tools that cover it — and they stay useful afterwards.
DEWALT Random Orbit Sander, Variable Speed, 5-Inch (DWE6423)
For Blending & Stairs★★★★★ 4.7 out of 5 — handles what machines cannot reach
The edger leaves a visible line where the perimeter meets the main floor, and blending that line is the job this tool does best. Variable speed from 8,000 to 12,000 OPM lets you work gently into an already-sanded area, and it is the only realistic option for stairs, which no floor machine can touch.
- ✅ Blends the edger line so the perimeter does not show as a frame
- ✅ The only practical option for stairs
- ✅ No swirl marks before stain or oil
- ✅ Stays useful long after the floor is done
- ⚠️ Not for whole floors — far too slow
- ⚠️ Best for: blending, stairs, patches, thresholds
Price and availability change often — the button shows the live Amazon price.
| Tool | What it covers |
|---|---|
| DEWALT DWE6423 random orbital | Blending, stairs, patches, thresholds |
| DEWALT DWE6411 sheet sander | Corners, alcoves, around pipes and frames |
| 8″ x 19″ drum belts | Abrasive for a rented drum sander |
💬 Affiliate disclosure: as an Amazon Associate, DetailSanderGuide may earn from qualifying purchases. This costs you nothing extra and never changes which tools we recommend.
The Full Process, Step by Step
- Clear the room completely. Furniture, curtains, wall hangings — dust gets into everything textile.
- Punch every nail below the surface and remove staples, tacks and carpet gripper. This step protects both your abrasive and the rented machine.
- Fix loose boards and squeaks. Sanding does not cure movement.
- Seal the doorway and cover vents. Turn off forced-air heating or cooling.
- First pass with the coarsest grit you genuinely need. Test at 80 first; drop coarser only if it is not cutting.
- Work along the boards, overlapping passes, never pausing with the machine engaged.
- Edge after each grit, matching the grit you just used on the main floor.
- Step up through the grits, finishing around 100–120.
- Blend the edger line and do the corners with handheld tools.
- Vacuum thoroughly, let dust settle, vacuum again, then tack cloth.
- Apply finish following the manufacturer’s coats and drying times.
- Screen lightly between coats if the finish recommends it.
Choosing a Finish
The finish decides how the floor looks, how it wears, and how you will maintain it for the next decade.
| Finish | Look | Durability | Repairability |
|---|---|---|---|
| Oil-based polyurethane | Warm, ambers over time | Very durable | Hard to spot repair |
| Water-based polyurethane | Clear, stays pale | Durable, dries fast | Hard to spot repair |
| Hardwax oil | Natural, matte, low sheen | Good, needs periodic refresh | ✅ Easy to spot repair |
| Penetrating oil | Very natural, matte | Softer, more maintenance | ✅ Easy to repair |
The practical trade-off is durability versus repairability. Polyurethanes form a hard film on top of the wood — extremely tough, but when it does wear through you generally have to sand and recoat the whole area, because a patch shows. Hardwax oils soak in and sit closer to the wood, so they mark more easily but you can repair a worn patch locally without redoing the room.
Practical guidance: if you want maximum toughness and minimum maintenance in a busy household, use a polyurethane. If you want a natural matte look and the ability to fix scuffs without redoing the floor, use a hardwax oil. Water-based polyurethane is the usual choice where you want to keep pale wood looking pale, since oil-based finishes yellow over time.
Always test on an offcut or in a cupboard. The same finish looks dramatically different on oak, pine and maple, and colour is nearly impossible to judge from a tin.
When to Hire a Professional
DIY refinishing genuinely saves money, and plenty of people get excellent results. But some situations tip the balance clearly.
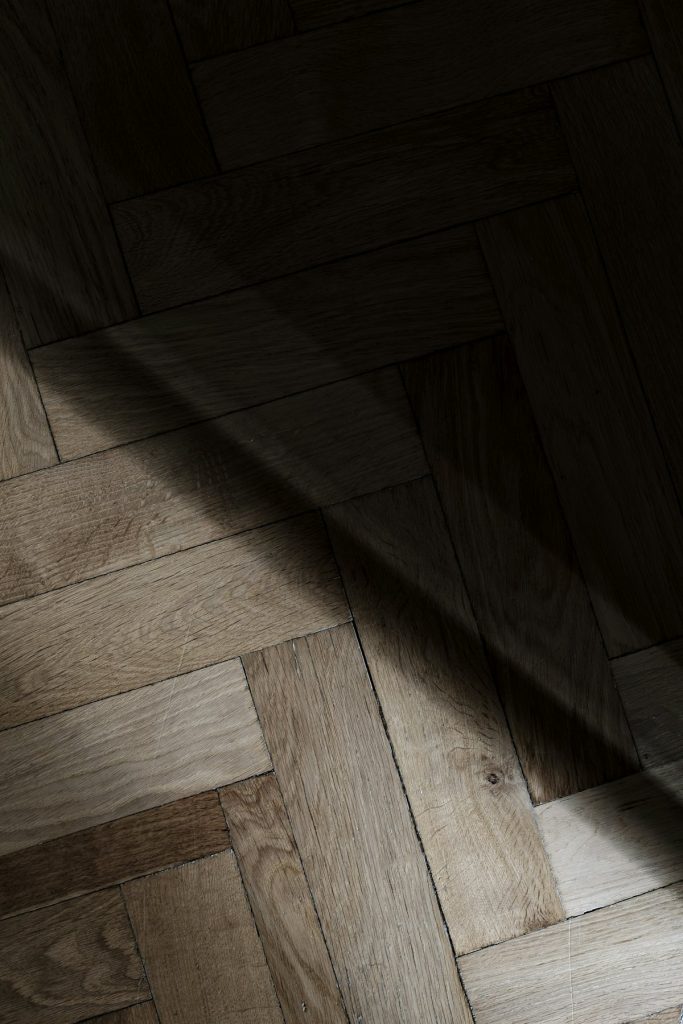
- Parquet and herringbone. Grain runs in multiple directions, so standard along-the-boards technique does not apply. This needs experience.
- Engineered flooring with a thin wear layer. The margin for error is measured in fractions of a millimetre.
- Floors already sanded several times. Judging what is left is a skill, and getting it wrong means exposed fixings.
- Large areas. Multiple rooms mean multiple rental days, and professionals work far faster with better machines.
- Deep pet stains or water damage. These often require board replacement and colour matching.
- Historic or antique floors, where a mistake is expensive and irreversible.
- You are living in the house during the work. Professionals have dust-containment systems that a hire shop machine will not match.
A useful middle path: hire a professional for the main floor areas and do the stairs, cupboards and small rooms yourself. Stairs are the most labour-intensive part per square metre, and doing them yourself can save a meaningful amount.
Common Mistakes and Fixes
1. Full sanding a floor that only needed screening
Result: years of the floor’s life removed unnecessarily.
Fix: water-drop test first. If it beads, screen and recoat.
2. Starting too coarse
Result: deep scratches and excessive wood removal.
Fix: test at 80 and go coarser only if it genuinely is not cutting.
3. Not punching nails
Result: shredded abrasive, damaged rental machine, thrown metal.
Fix: punch the entire floor before the machine arrives.
4. Mismatched edger grits
Result: the perimeter takes stain differently and shows as a frame.
Fix: run the edger through the same grits as the main machine.
5. Finishing over dust
Result: grit permanently trapped in the finish.
Fix: vacuum, wait for settling, vacuum again, tack cloth.
6. Walking on the finish too early
Result: marks in a floor you just spent a weekend on.
Fix: follow cure times, not just dry times — they are different.
7. Sanding out a black pet stain
Result: a dished area and the stain still there.
Fix: deep stains usually need board replacement, not sanding.
Dealing With Gaps, Stains and Damaged Boards
Most floors worth refinishing have some damage, and knowing what sanding can and cannot fix saves a lot of wasted effort.
Gaps between boards. Old floors move seasonally, and gaps are normal. Sanding does not close them. Options are to leave them (most character floors look right with some gaps), fill narrow ones with a flexible filler tinted to match, or fit slivers of matching timber into the widest ones. Rigid filler in a moving floor cracks out within a year, so use a flexible product or accept the gaps.
Black stains. Dark or black patches, particularly near doorways or under where pets slept, are usually urine damage reacting with tannins in the wood. These go deep — often through the full board thickness — and sanding will not remove them. You will dish the area trying. Replacing the affected boards is the only reliable fix.
Water damage and cupping. If the cause is fixed and the floor has dried fully, a drum sander can level cupped boards. If the moisture source is still active, sanding now means sanding again later — find and fix the leak first, and let the floor dry and settle for several weeks.
Deep scratches and gouges. Sanding removes these only if you take the whole floor down to their depth, which may cost more of the floor’s life than the scratch is worth. For isolated deep gouges, filling is often the more sensible choice.
Burn marks and paint spots. These usually sand out, though paint clogs abrasive quickly — scrape off what you can first rather than feeding it to the machine.
After the Finish Goes Down
- Respect cure times, not just dry times. A finish can feel dry in hours but take days or weeks to fully harden. Light foot traffic usually comes first, furniture later, rugs last of all.
- Do not put rugs down early. Covering a curing finish traps solvent and can leave permanent marks or a colour difference.
- Lift furniture, do not drag it. Fit felt pads to every leg before anything goes back.
- Keep humidity stable. Wood moves with moisture, and a freshly finished floor in a very dry or very damp room will gap or cup.
- Clean with the right product. Follow the finish manufacturer’s guidance — the wrong cleaner can dull or damage a new finish quickly.
- Plan the next refresh. Screening and recoating every few years, before wear reaches bare wood, means you may never need another full sand.
Frequently Asked Questions
How many times can a hardwood floor be refinished?
Solid hardwood can typically take several full sandings over its lifetime, depending on the original board thickness and how much is removed each time. The limit is when the boards approach the tongue or the nail fixings. Check at a threshold or vent cut-out to see how much wood sits above the tongue. Engineered floors are far more limited — often one light sand at most, and some cannot be sanded at all. If fixings are visible or close to the surface, screen and recoat instead.
Should I rent a drum sander or an orbital?
Rent the orbital if your boards are flat and the problem is a worn finish — it is far more forgiving and a beginner is unlikely to damage the floor with one. Rent the drum sander plus edger only if boards are cupped, painted or genuinely uneven and need levelling. The drum removes material very fast, which is exactly why it gouges floors when someone pauses with it engaged.
What is the difference between screening and sanding?
Screening abrades only the existing finish so a new coat bonds to it, removing almost no wood. Sanding takes the floor back toward bare timber. Screening is faster, far less dusty, much lower risk and does not consume the floor’s sanding life — but it cannot fix scratches in the wood itself, cupping, or a colour change. Test with a drop of water: if it beads, there is finish left and screening should work.
What grit should I finish a hardwood floor at?
100 to 120 grit. That leaves enough key for the finish to bond properly. Going finer closes the grain, which can make stain sit unevenly and reduce adhesion. Start with the finest grit that will actually remove the old finish — usually 80 — and work up. Only drop to 60 or 40 if the floor genuinely needs levelling.
Can I refinish a floor while living in the house?
It is possible but genuinely disruptive. Floor sanding produces an enormous volume of very fine dust that travels through the whole property, and finishes need ventilation and cure time during which the room is unusable. If you must, seal the room thoroughly, cover all vents, turn off forced-air systems, and work room by room. Professionals with dust-containment systems handle occupied properties far better than hire-shop equipment does.
Refinishing Checklist
- Confirmed solid vs engineered construction
- Checked how much wood remains above the tongue
- Water-drop test done to see if screening would work
- Flatness checked with a straight edge
- Deep stains and damaged boards identified for replacement
- Loose boards and squeaks fixed first
- All nails punched, gripper and staples removed
- Correct machine hired — orbital unless levelling is needed
- Edger hired alongside, run through matching grits
- Abrasive bought in full sequence with spares
- Room sealed, vents covered, respirator ready
- Finish tested on an offcut or in a cupboard
- Vacuum, settle, vacuum, tack cloth before finishing
- Cure times respected before moving furniture back
Final Thoughts
Refinishing hardwood is one of the highest-value jobs you can do to a house, and the single best decision you can make is to remove as little wood as possible. Screen if screening will do it. Use the orbital unless the floor genuinely needs levelling. Save the drum sander for boards that are actually uneven.
Hire the machines, buy good abrasive, keep a handheld random orbital for the stairs and edges, and give the finish the cure time it asks for.
🔧 What to read next: which sander for your floor walks through the decision, and drum floor sanders covers the rental machine and its technique in detail.