Wood glue is the cheapest part of any project and the one most likely to ruin it. Here is how to pick the right type and use it properly.
⚡ The Short Answer
For most indoor woodworking, a standard PVA wood glue is all you need. A properly glued joint in solid wood is stronger than the wood around it — failures almost always come from poor clamping, dirty surfaces or the wrong glue for the conditions, not from weak glue.
Choose by exposure: interior projects take a standard PVA. Anything that will see damp, humidity or outdoor conditions needs a waterproof formulation. Garden furniture, exterior doors and kitchen worktops all belong in that second group.
The three things that decide joint strength: clean, well-fitted surfaces; enough glue to wet both faces; and firm clamping for the full recommended time.
Wood glue is deceptively simple. Pick the wrong one and a chair falls apart in a damp garage two winters later. Use the right one badly — too little glue, not enough clamping, a joint that does not actually fit — and it fails just as surely.
The good news is that there are only a few types worth knowing, and the technique is genuinely straightforward once you understand what the glue needs to work.
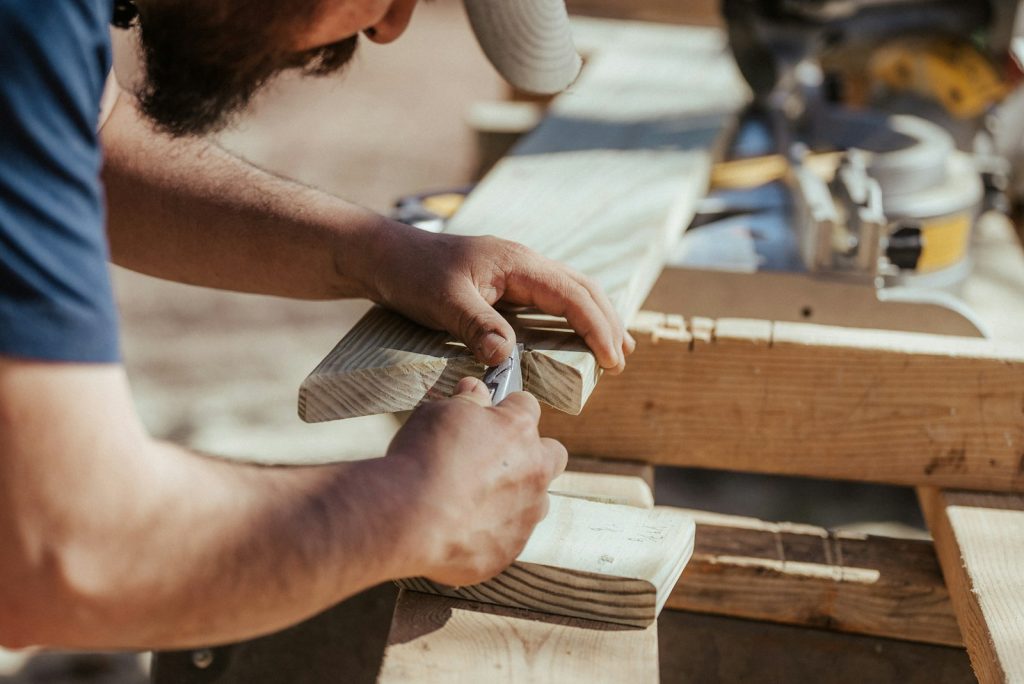
The Glue Types That Matter
| Type | Best for | Water resistance | Notes |
|---|---|---|---|
| PVA (yellow wood glue) | General interior woodworking | Varies by grade | The default. Easy, cleans up with water |
| Waterproof PVA | Exterior, damp areas, worktops | ✅ High | Same handling, better exposure rating |
| Polyurethane | Mixed materials, gap filling, outdoor | ✅ High | Foams as it cures — messy, needs moisture |
| Epoxy | Gaps, structural repairs, oily timbers | ✅ High | Two-part, fills gaps, no clamping pressure needed |
| Hide glue | Antiques, instruments, reversible joints | ❌ Low | Can be undone with heat and moisture |
| CA (superglue) | Small repairs, holding while other glue cures | Moderate | Fast but brittle — not for structural joints |
For nine out of ten projects the answer is a PVA wood glue, in either the standard or waterproof grade. The others are specialist tools for specific problems — gap filling, reversibility, or bonding wood to something that is not wood.
🪵 The thing to internalise: wood glue is not gap filling. PVA needs surfaces that actually touch. If your joint has gaps, fix the joint or switch to epoxy — no amount of extra glue compensates.
Choosing by Exposure
The single most useful question is: will this project ever get wet or damp?
- Never damp — interior furniture, shelving, boxes, indoor trim. A standard interior PVA is fine and usually cheaper.
- Occasionally damp — kitchen and bathroom items, worktops, utility furniture. Use a water-resistant or waterproof grade. Humidity alone can break down an interior glue over years.
- Genuinely outdoors — garden furniture, planters, exterior doors, gates. Waterproof grade, no exceptions. This is where cheap glue fails visibly after a season or two.
- Structural or load-bearing. Waterproof PVA or epoxy, and design the joint so the glue is not the only thing holding it together.
Waterproof grades cost a little more and handle identically, so many woodworkers simply buy the waterproof version for everything and stop thinking about it. That is a perfectly reasonable approach.
Our Picks
Titebond III Ultimate Wood Glue, 8 oz
Best All-Round★★★★★ 4.8 out of 5 — the workshop default
If you keep one glue on the shelf, this is a sensible choice. It is waterproof, so it covers both interior and exterior work without you having to think about which bottle to reach for. Clamp time is around one hour, and it cleans up with water while wet — which matters more than it sounds, because squeeze-out is far easier to deal with before it cures.
- ✅ Waterproof — one glue covers indoor and outdoor projects
- ✅ One hour clamp time — enough working time without tying up clamps all day
- ✅ Water cleanup while wet — deal with squeeze-out easily
- ✅ Strong joints — properly glued, the wood fails before the joint does
- ⚠️ Not gap filling — surfaces must actually meet
- ⚠️ Best for: furniture, garden projects, general woodworking, anyone wanting one bottle
Price and availability change often — the button shows the live Amazon price.
Titebond II Premium Wood Glue — Gallon
Best Value in Bulk★★★★★ 4.8 out of 5 — for people who glue a lot
If you are gluing up panels, building furniture regularly, or working through a big project, buying by the gallon is dramatically cheaper per use than small bottles. Titebond II is water-resistant, which covers the vast majority of woodworking including most kitchen and utility work.
- ✅ Far cheaper per use than small bottles
- ✅ Water resistant — fine for most interior and sheltered work
- ✅ Decant into a small bottle for easier daily use
- ⚠️ Glue has a shelf life — only worth it if you glue regularly
- ⚠️ Less water resistant than Titebond III for fully exposed outdoor work
- ⚠️ Best for: panel glue-ups, workshops, frequent users
Price and availability change often — the button shows the live Amazon price.
Comparison
| Glue | Water resistance | Size | Best for |
|---|---|---|---|
| Titebond III Ultimate | ✅ Waterproof | 8 oz | One-bottle solution, outdoor projects |
| Titebond II Premium | Water resistant | Gallon | Bulk use, panel glue-ups |
💬 Affiliate disclosure: as an Amazon Associate, DetailSanderGuide may earn from qualifying purchases. This costs you nothing extra and never changes which tools we recommend.
How to Glue a Joint Properly
- Dry fit first, every time. Assemble the joint with no glue and check it closes fully with no gaps. If it does not fit dry, glue will not fix it — and you will discover that with glue setting and clamps in your hands.
- Have everything ready. Clamps open and adjusted, cauls cut, a damp rag to hand. Once glue is on, you are on a clock.
- Clean, dry, bare surfaces. No dust, no finish, no oil. Glue bonds to wood, not to old varnish or sanding dust.
- Apply to both faces of the joint where practical, spreading to a thin even film. A brush, a roller or a scrap of offcut all work better than squeezing a bead and hoping.
- Use enough. You want a small, even squeeze-out along the joint line when clamped. No squeeze-out usually means not enough glue.
- Assemble promptly — PVA starts skinning within minutes. If it has gone tacky before you close the joint, scrape it off and start again.
- Clamp firmly and evenly, and check the assembly is square before walking away.
- Leave it clamped for the full recommended time, then leave it longer before stressing the joint.
✅ End grain drinks glue. End grain absorbs far more than face grain, so a normal application starves the joint. Size it first — brush on a thin coat, let it soak for a few minutes, then apply your proper glue layer and assemble.
Clamping — The Part People Rush
Clamping is where most glue failures actually originate. The glue is rarely the problem.
- Pressure should be firm, not crushing. You want the surfaces in full contact with a thin glue line. Cranking clamps to maximum can starve the joint by squeezing almost all the glue out, and it can bow the workpiece.
- Spread the pressure. Use cauls — straight scrap battens across the work — so pressure is even along the whole joint rather than concentrated under each clamp.
- Clamp from both sides on panels. Alternating clamps above and below a panel glue-up stops it bowing.
- Protect the surface. Offcuts between clamp jaws and the workpiece prevent dents, which are surprisingly hard to sand out afterwards.
- Check for square immediately. Measure the diagonals of a frame or carcass — equal diagonals mean square. Adjust before the glue grabs.
- Respect clamp time versus cure time. Clamp time is when you can safely remove clamps. Full cure — when the joint reaches its rated strength — takes considerably longer. Do not stress a fresh joint just because the clamps came off.
- Work at a sensible temperature. Most PVA glues perform poorly in cold conditions. An unheated garage in winter is a common cause of mysteriously weak joints.
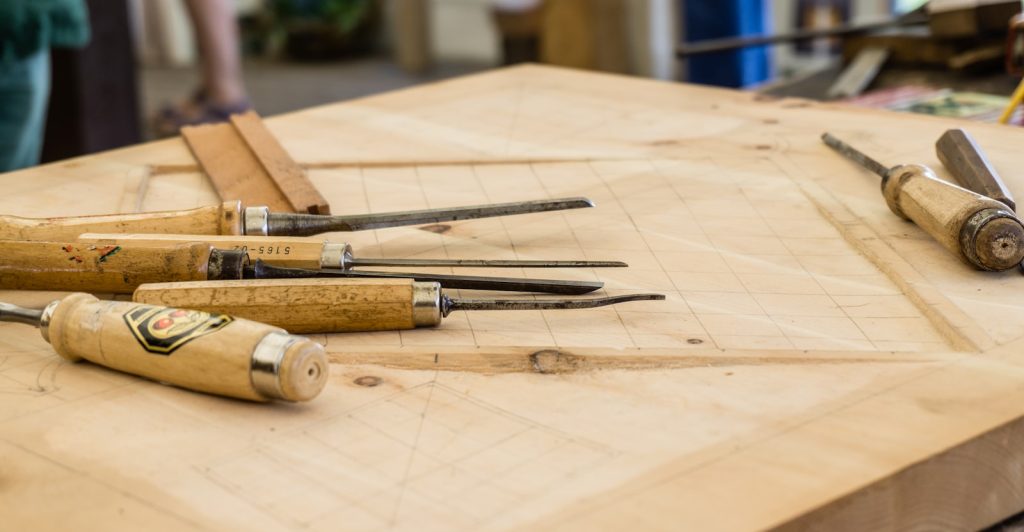
Squeeze-Out and Finishing
Glue squeeze-out is normal and desirable — it tells you the joint had enough glue. What matters is how you deal with it, because dried glue does not take stain or finish. A smear you cannot see on bare wood becomes an obvious pale patch the moment finish goes on.
Three approaches, all valid:
- Wipe wet with a damp cloth. Quick and easy, but it can push glue into the grain where it will still block finish. Rinse the cloth frequently.
- Let it go rubbery, then peel or scrape. Many woodworkers prefer this — wait until the squeeze-out is firm but not hard, then lift it off cleanly with a chisel or scraper. Less risk of spreading it into the grain.
- Let it cure fully, then scrape or sand. Effective but more work, and you risk sanding through the surrounding surface trying to remove a hard bead.
Check before finishing. Wipe the assembled piece with mineral spirits or denatured alcohol — it temporarily darkens the wood the way a finish will, and any glue residue shows up immediately as a pale patch. Far better to find it then than after the first coat of stain.
Inside corners are where squeeze-out hides. A sharpened dowel or a chisel corner gets into them before the glue hardens.
Common Mistakes and Fixes
1. Skipping the dry fit
Result: discovering the joint does not close while glue is setting.
Fix: always assemble dry first, with clamps.
2. Expecting glue to fill gaps
Result: a weak joint that fails under load.
Fix: re-cut the joint, or use epoxy which genuinely fills gaps.
3. Not enough glue
Result: a starved joint with no squeeze-out and poor strength.
Fix: aim for a small even bead along the whole joint line when clamped.
4. Over-tightening clamps
Result: glue squeezed out entirely, bowed workpieces, dented surfaces.
Fix: firm but not brutal, with cauls to spread the load.
5. Glue residue under the finish
Result: pale blotches exactly where the squeeze-out was.
Fix: remove residue thoroughly and check with mineral spirits before finishing.
6. Gluing in a cold workshop
Result: weak joints for no obvious reason.
Fix: check the glue’s minimum temperature and warm the space and the timber.
7. Using old glue
Result: unreliable bonds.
Fix: glue has a shelf life. If it is stringy, lumpy or has been frozen, replace it.
Gluing Difficult Materials
Standard PVA is excellent on clean solid timber. Several common materials need a different approach.
Oily tropical hardwoods — teak, ipe, rosewood, cocobolo and similar species contain natural oils that prevent PVA bonding properly. Wipe the mating surfaces with acetone or denatured alcohol immediately before gluing to strip the surface oils, and assemble straight away before more oil migrates up. For structural joints in these timbers, epoxy is the more reliable choice.
MDF and particleboard — the edges are extremely absorbent and drink glue like end grain. Size the edge with a thin coat first, let it soak in, then apply the real glue layer. Face gluing MDF works well; edge gluing it is always weaker.
Plywood — glues well on faces, but edge joints are only as strong as the veneers. Reinforce with dowels, biscuits or splines rather than relying on glue alone.
End grain to end grain — the weakest joint in woodworking, whatever glue you use, because you are bonding the open ends of fibres rather than their sides. Reinforce with a scarf, a spline, a dowel or a mechanical fixing.
Wood to metal or plastic — PVA will not do this. Use polyurethane or epoxy, and roughen the non-porous surface first to give the adhesive something to key into.
Repairing a previously glued joint — old glue must come off. New PVA does not bond well to cured PVA, so scrape or sand the old joint back to bare wood before regluing.
Storage and Shelf Life
- Keep it above freezing. Frozen PVA can be permanently damaged, and an unheated garage in winter is exactly where most glue lives.
- Close the cap properly and wipe the nozzle. A crusted nozzle is the usual reason a bottle becomes unusable long before the glue does.
- Decant from bulk containers. If you buy by the gallon, transfer into a small squeeze bottle for daily use so you are not repeatedly opening the large container.
- Store upright to reduce air contact with the glue surface.
- Write the purchase date on the bottle. It takes two seconds and removes all guesswork later.
- Test doubtful glue on scrap. Glue two offcuts, let them cure fully, then break the joint. If it fails at the glue line rather than in the wood, replace the bottle.
How Much Glue Do You Actually Need?
A question that comes up constantly, and the honest answer is “more than most beginners use, less than you might waste.”
The visual test is squeeze-out. When the joint is clamped, you want a small, continuous bead of glue appearing along the whole joint line. Not a flood running down the workpiece, and not a few isolated droplets — a thin, even line the entire length.
No squeeze-out at all almost always means a starved joint. Either you applied too little, or the surfaces absorbed it before assembly, or you clamped so hard you forced it all out. Any of those produces a joint noticeably weaker than it should be.
Glue running everywhere is wasteful and creates a lot of cleanup, but it is not structurally harmful. If you are going to err, err on this side — a messy strong joint beats a tidy weak one.
Spreading matters as much as quantity. A thick bead down the middle of a board that never gets spread leaves dry areas at the edges. Use a brush, a small roller, a silicone spreader or just a scrap of offcut to work the glue into a thin even film across the whole mating surface.
For long panel glue-ups, many woodworkers apply glue to one face only and rely on clamping pressure to transfer it — that works on well-machined edges, but applying a thinner coat to both faces is more reliable if your surfaces are less than perfect.
Frequently Asked Questions
What is the best glue for wood?
For most woodworking, a PVA wood glue — yellow glue — is the right answer. Choose a waterproof grade if the project will ever see damp or outdoor conditions, and a standard grade for purely interior work. Properly applied to well-fitted, clean surfaces and clamped for the full time, a PVA joint in solid wood is stronger than the surrounding timber. Reach for epoxy only when you need to fill gaps or bond oily timbers, and polyurethane for mixed materials.
Is wood glue stronger than the wood itself?
In a well-made joint, yes — test pieces typically break in the timber beside the glue line rather than at the joint. But that only holds when the surfaces fit closely, are clean and bare, get enough glue, and are clamped properly for the full time. A joint with gaps, dust, old finish or inadequate clamping will fail at the glue line. The glue is rarely the weak link; the preparation usually is.
How long should I clamp a wood joint?
Follow the manufacturer’s clamp time — commonly around an hour for standard PVA, though it varies by product, temperature and humidity. Clamp time is when it is safe to remove clamps, not when the joint is at full strength. Full cure takes considerably longer, often 24 hours or more, so avoid stressing the joint, planing it or putting it into service until then. Cold conditions extend both times significantly.
Why does glue show through my finish?
Because dried glue seals the wood and blocks stain and finish from penetrating, leaving a pale patch exactly where the squeeze-out was. It often looks invisible on bare wood, which is why it catches people out. Remove squeeze-out thoroughly — the easiest method is to let it go rubbery then peel it off — and check before finishing by wiping the surface with mineral spirits, which reveals residue immediately.
Can I use wood glue outdoors?
Only a waterproof grade. Standard interior PVA breaks down with repeated wetting and humidity cycles, and outdoor joints will eventually fail. For garden furniture, gates, planters and exterior doors, use a waterproof formulation. Even then, design matters — joints that shed water and are not permanently damp last far longer than ones that trap moisture, whatever glue you use.
Does wood glue go off?
Yes. PVA has a shelf life, and it degrades faster if stored in a cold or fluctuating environment. Glue that has frozen may never regain full strength even after thawing. Signs it is past its best are stringiness, lumps, separation that will not stir back together, or a noticeably thicker texture. Given that glue is the cheapest component of any project, replacing a doubtful bottle is false economy to avoid.
Glue-Up Checklist
- Correct grade chosen — waterproof if it will ever be damp
- Glue within its shelf life and stored above freezing
- Joint dry fitted and closing fully with no gaps
- Surfaces clean, bare and free of dust or finish
- Clamps, cauls and a damp rag ready before opening the bottle
- End grain sized first with a thin coat
- Glue applied to both faces in a thin even film
- Small even squeeze-out visible along the joint
- Clamped firmly, not crushed, with cauls spreading pressure
- Assembly checked square by measuring diagonals
- Squeeze-out removed before it hardens
- Full clamp time observed, and cure time before stressing
- Checked with mineral spirits for residue before finishing
Final Thoughts
Wood glue rewards preparation far more than product choice. A mid-range PVA used properly beats an expensive glue used badly every time.
Buy a waterproof PVA so you never have to think about which bottle to grab, dry fit everything, use enough glue to get squeeze-out, and clean that squeeze-out off before it hardens. That is genuinely the whole craft.
🔧 What to read next: after the glue cures, flattening panels is the next job — see dual action sanders for woodworking and sanders for furniture. Plan your grits with the grit progression planner.