Trim is all edges, profiles and internal angles — the exact places a round sander cannot go. Here is the kit that actually works.
⚡ The Short Answer
For trim work you want a 1/4 sheet sander or a detail sander, not a random orbital. Trim is narrow, profiled and full of internal corners. A square pad reaches into the angle where skirting meets the wall; a pointed detail pad reaches into mitred corners and beading.
The kit that covers almost everything: a quarter-sheet sander for flat faces, a detail sander for corners, and sanding sponges for the moulded profiles. Sponges are not optional — no flat pad follows an ogee.
And if the trim is painted and the house predates 1978, test for lead before you sand anything.
Trim work looks like it should be easy. It is flat, it is narrow, and there is not much of it. Then you start, and discover that the flat part takes ten minutes while the corners, the profile and the bit where it meets the floor take three hours.
The problem is geometry. Skirting boards, architrave, casing and picture rail are mostly edges — internal corners, mitred joints, curved profiles and tight junctions with walls and floors. Powered sanders are built for open flat surfaces, which is the one thing trim does not have much of.
This guide covers which sanders genuinely help, which are a waste of money for this job, and how to sand trim in place without wrecking the wall behind it.
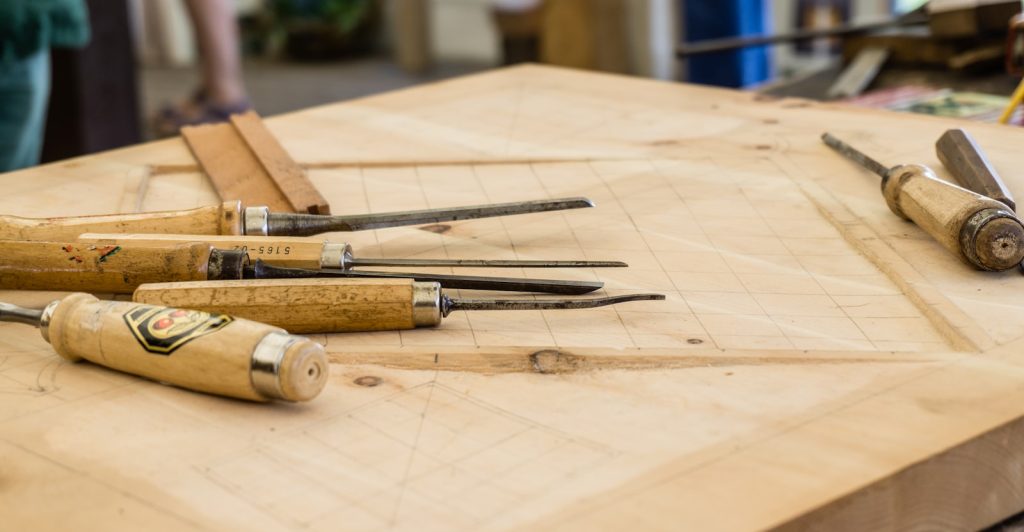
Why Trim Needs Different Tools
Think about what a piece of skirting board actually is. There is a flat face, usually 100–150mm tall. There is a moulded profile along the top. There is an internal corner where it meets the wall, another where it meets the floor, and mitred or scribed joints at every room corner.
A 5″ random orbital sander handles exactly one of those — the flat face — and even then the round pad overhangs the narrow board and dips into whatever is next to it.
What trim actually demands:
- A square or pointed pad that fits into internal 90 degree corners
- A narrow footprint that sits on a 100mm board without rocking
- Flexibility to follow curved profiles without flattening them
- Control near walls, floors and adjoining surfaces you do not want to damage
- Light weight, because a lot of trim work is at floor level or overhead
That list describes a detail sander and a quarter-sheet sander, plus hand abrasives. It does not describe a random orbital, and it definitely does not describe a belt sander.
🪵 The trim rule: the tool has to fit the shape. Power does not help when the problem is geometry.
The Trim Sanding Kit
| Tool | Handles | Why it matters |
|---|---|---|
| 1/4 sheet sander | Flat faces of skirting, casing, wide architrave | Square corners reach the wall junction |
| Detail / mouse sander | Mitred corners, tight junctions, narrow beads | Pointed tip gets where nothing else will |
| Sanding sponges | Ogees, coves, rounds, any moulded profile | Flexible — follows the shape instead of flattening it |
| Shaped blocks | Repeated profiles across a whole house | Consistent results, much faster than freehand |
| Random orbital | Only very wide flat trim, or doors | Round pad overhangs narrow boards |
| Belt sander | Nothing on trim | Removes far too much, far too fast |
If you are buying one tool for trim, buy the quarter-sheet sander. It is cheap, light, and the square corners do most of what trim needs. Add a detail sander if you have a lot of mitres and tight corners, and buy a pack of sanding sponges regardless — they cost very little and handle the parts no machine can.
Our Picks
DEWALT Electric Sander, 1/4 Sheet, 14,000 OPM (DWE6411)
Best for Trim★★★★★ 4.8 out of 5 — the right shape for the job
This is the tool trim work is built around. The square quarter-sheet pad pushes right into the corner where skirting meets the wall and where architrave meets the frame — junctions a round pad simply cannot enter. At 14,000 OPM it leaves a fine enough finish to go straight to primer, and the rubber overmould matters when you are crouched at floor level for an afternoon.
- ✅ Square corners reach wall and floor junctions
- ✅ Narrow enough to sit on standard skirting without rocking
- ✅ Very cheap to run — cut quarter sheets from full sheets
- ✅ Light for overhead casing and low skirting work
- ⚠️ Will not follow a moulded profile — use sponges for that
- ⚠️ Best for: skirting, architrave, casing, window boards
Price and availability change often — the button shows the live Amazon price.
DEWALT Random Orbit Sander, Variable Speed, 5-Inch (DWE6423)
For Doors & Wide Trim★★★★★ 4.7 out of 5 — the wide-surface partner
Not the first tool for trim, but genuinely useful alongside it. Doors, wide window boards, stair risers and panelled sections are flat enough that a random orbital is faster and leaves a better surface. Variable speed also lets you drop right down for painted surfaces, where heat softens the coating and clogs abrasive.
- ✅ Fast on doors and wide flat trim
- ✅ Low speed setting for painted surfaces
- ✅ No swirl marks if the trim is being stained rather than painted
- ⚠️ Overhangs narrow skirting and cannot reach corners
- ⚠️ Best for: doors, wide boards, stair components
Price and availability change often — the button shows the live Amazon price.
Comparison
| Tool | Pad shape | Corners | Profiles | Best trim use |
|---|---|---|---|---|
| DEWALT DWE6411 | Square 1/4 sheet | ✅ Yes | ❌ No | Skirting, architrave, casing |
| DEWALT DWE6423 | 5″ round | ❌ No | ❌ No | Doors, wide boards |
| Makita XOB01Z | 5″ round | ❌ No | ❌ No | Cordless, doors off their hinges |
| Sanding sponge | Flexible | ✅ Yes | ✅ Yes | Ogees, coves, beading |
| Shaped block | Custom | ✅ Yes | ✅ Yes | Repeated profiles, whole houses |
💬 Affiliate disclosure: as an Amazon Associate, DetailSanderGuide may earn from qualifying purchases. This costs you nothing extra and never changes which tools we recommend.
Sanding Moulded Profiles
This is where trim work is won or lost. Skirting and architrave usually have a moulded top edge — an ogee, a bullnose, a bead, a cove or some combination. Put a flat sander on it and you flatten the crisp detail, which is instantly visible once painted and impossible to undo.
What works, in order of usefulness:
- Sanding sponges. Flexible foam blocks with abrasive on the faces. They compress into a cove and wrap over a bead, following the shape instead of fighting it. Buy a mixed pack of grits.
- Shaped blocks. If you are doing a whole house with one profile, cut a scrap of wood to the negative shape of the moulding, wrap paper round it, and you have a custom tool. Dramatically faster and more consistent than freehand.
- Abrasive strips. A strip of paper pulled back and forth like a shoeshine cloth works well on simple rounds and beads.
- Dowels and pencils. Wrap paper round a dowel for coves, or a pencil for very small quirks and fillets.
- Detail sander with a finger attachment. Some detail sanders come with narrow finger pads that reach into a quirk, though they still cannot follow a curve properly.
Do not try to be clever with power tools here. Hand sanding a profile is genuinely faster than fixing a flattened one.
✅ Make one shaped block and reuse it. Ten minutes cutting a block to match your skirting profile will save hours across a whole house, and every length comes out identical.
Sanding Trim in Place
Most trim gets sanded where it is, rather than being pulled off. That brings its own problems — mainly the wall, the floor and the carpet.
- Mask the wall above the skirting with low-tack tape and a strip of card or masking film. A sander that kisses the wall leaves a scuff you will have to fill and repaint.
- Protect the floor. Tuck card or thin hardboard under the bottom edge. Sanding the top of a wooden floor or the edge of a carpet is a very common accident.
- Work with the length, not across it. Cross-grain scratches on trim are obvious under gloss paint.
- Do the flat face first, then the profile, then the corners. Working in that order means you are not re-dusting areas you have finished.
- Vacuum as you go. Trim dust settles on every horizontal surface in the room, and it will end up in your paint.
- Fill after the first sand, not before. Old nail holes and gaps show up clearly once the surface is keyed.
If the trim is in genuinely poor condition — many thick layers, heavy damage — it is often faster to remove it, work on it flat over a bench, and refit. That also lets you use a random orbital on the faces.
Painted Trim and the Lead Question
Most trim is painted, and most trim in older houses has been painted many times. That changes both the technique and the safety requirements.
The technique part: paint softens with heat. Sand it fast and it melts, packs into the abrasive and turns a fresh sheet into a useless smooth strip within a minute. Sand it slowly, with light pressure, and it comes off as dry flakes. If your sander has variable speed, use the low end. If it does not, move faster and press less.
You usually do not need to remove all the paint. If the existing coats are sound and not too thick, key the surface at 120–180 and repaint. Full removal is only necessary where paint is flaking, cracked, or built up so thickly that detail has disappeared.
⚠️ Lead paint is a genuine risk on trim. Skirting, architrave, window frames and door casings in homes built before roughly 1978 are among the most likely surfaces to carry lead paint — they were painted with hard-wearing gloss for decades. Dry sanding creates fine airborne lead dust very quickly, and it is especially hazardous around children and pregnant women. Test first with a home lead test kit. If lead is present, do not dry sand: use a chemical stripper, a HEPA-shrouded sander, or bring in a certified professional. See our dust safety checklist.
Grit Sequence for Trim
| Situation | Start | Finish | Notes |
|---|---|---|---|
| Sound paint, repainting | 120 | 180 | Just key it — no need to strip |
| Flaking or damaged paint | 80–100 | 180 | Remove loose material, feather the edges |
| Bare softwood trim, painting | 120 | 150–180 | Do not go finer — primer needs a key |
| Bare hardwood trim, staining | 120 | 220 | Stop at 220 or stain goes blotchy |
| Between paint coats | 220–320 | 320 | Very light, by hand |
The common mistake on painted trim is sanding too fine. Paint and primer need a slight key to grip — polishing trim to 320 before painting actually reduces adhesion. Stop at 150–180 for anything being painted. Our grit progression planner covers the sequence in more detail.
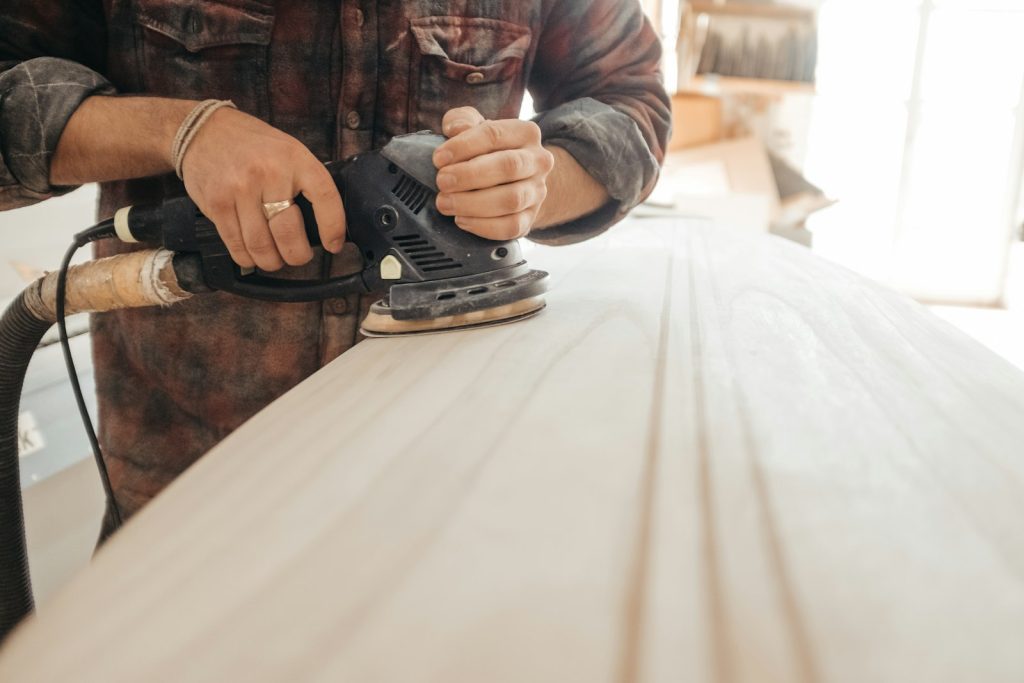
Common Mistakes and Fixes
1. Using a random orbital on narrow skirting
Result: the pad overhangs, rocks, and dips into the wall or floor.
Fix: quarter-sheet sander. The pad should fit the board.
2. Flattening the moulded profile
Result: crisp detail turned into a vague blur, obvious once painted.
Fix: sponges and shaped blocks on profiles. Never a flat pad.
3. Sanding the wall above the skirting
Result: scuffed plaster to fill and repaint.
Fix: mask with tape and card before you start.
4. Running fast on painted trim
Result: melted paint, clogged sheets, a lot of wasted abrasive.
Fix: low speed, light pressure, and clean or change sheets often.
5. Sanding across the grain
Result: cross scratches that gloss paint highlights perfectly.
Fix: always work along the length of the trim.
6. Filling before sanding
Result: you miss half the holes and gaps because the old finish hides them.
Fix: sand first, then fill, then spot-sand the filler.
7. Dry sanding old painted trim without testing
Result: potential lead dust throughout the house.
Fix: test any pre-1978 painted trim before you touch it.
Pro Tips
- Remove the trim if it is badly built up. Working on a bench is faster, safer for the walls, and lets you use bigger tools on the flat faces.
- Number the pieces as you remove them. Trim is cut to fit each opening. Pencil a number on the back and a matching one on the wall.
- Use a raking light. Hold a lamp almost parallel to the trim — every ridge, scratch and missed patch appears immediately. Overhead light hides all of it.
- Caulk after painting the first coat, not before sanding. Caulk does not sand and clogs abrasive instantly.
- Keep a card scraper for corners. On heavy paint build-up in a corner, a scraper removes more in ten seconds than a sander will in five minutes.
- Vacuum the trim before painting, then tack cloth it. Dust settles on the top edge of skirting and ends up in the paint film.
- Buy sponges in multiple grits. They are inexpensive and each one lasts a long time on profiles.
Real-World Examples
The skirting that lost its detail
Someone works along a whole hallway with a quarter-sheet sander, running it over the moulded top edge as well as the flat face. It feels efficient. Once glossed, the ogee looks soft and slightly melted compared to the untouched trim in the next room. There is no fix short of replacing the run — the profile is gone.
The wall that needed repainting anyway
Sanding skirting in place without masking, the pad kisses the wall a dozen times over a day. Each contact leaves a shallow scuff in the plaster and paint. What should have been a trim job becomes a trim-and-wall job. Ten minutes of masking tape and card would have prevented it entirely.
The Victorian house and the lead test
Painted trim in older properties is a genuine lead risk, and it is exactly the surface people sand casually because it is small. A home test kit costs very little and takes minutes. If it comes back positive, chemical stripping or a professional is the right answer — not a dust mask and hope.
Sanding New Trim Before Installation
If you are fitting new trim rather than refinishing old, sand it before it goes on the wall. It sounds obvious and almost nobody does it.
New skirting and architrave arrive with mill glaze — a slightly polished surface left by the moulding machine’s cutters. Paint and primer do not key well to it, which is why new trim sometimes shows peeling along an edge a year later. A quick pass at 150–180 on the faces and a sponge over the profile solves it completely.
Doing it on a bench or a pair of trestles is also far easier than doing it in place. You can reach every face, there is no wall to protect, dust goes on the floor rather than on your finished decoration, and you can prime all sides — including the back, which slows moisture movement and reduces the chance of the trim cupping later.
The efficient order for new trim: sand the lengths flat, prime all faces including the back and ends, cut and fit, fill the nail holes and joints, spot-sand the filler, then apply the finish coats in place. You end up with a better result and considerably less awkward crouching.
Frequently Asked Questions
What is the best sander for skirting boards and trim?
A 1/4 sheet sander is the best single choice. Its square pad reaches into the corner where trim meets the wall and floor, and it sits comfortably on a narrow board without rocking. Add a detail sander for mitred corners and tight junctions, and sanding sponges for the moulded profile. A random orbital is the wrong shape for most trim work.
How do you sand a moulded profile without ruining it?
By hand, with something flexible or shaped. Sanding sponges compress into coves and wrap over beads, following the profile rather than flattening it. For a whole house with one profile, cut a scrap block to the negative shape of the moulding and wrap paper round it — far faster and more consistent. Never run a flat powered pad along a profile; it rounds off the crisp detail permanently.
Do I need to sand trim before painting?
Yes, but usually only to key it rather than strip it. Sand at 120–180 to dull the existing gloss so the new paint can grip, fill any holes, and spot-sand the filler. Full removal is only needed where paint is flaking, cracked, or so thick the detail has disappeared. Do not sand finer than about 180 before painting — an over-polished surface gives primer less to key into.
Can I use a detail sander on trim corners?
Yes, that is exactly what they are for. The pointed triangular pad reaches into mitred corners and tight internal angles that no other powered sander can enter. They are slow for large areas, so use one alongside a quarter-sheet sander rather than instead of it. Some models include narrow finger attachments that reach into quirks and recesses.
Is it better to remove trim or sand it in place?
Sand in place for routine repainting — removal risks damaging both the trim and the wall. Remove it when the paint build-up is heavy, the trim is damaged, or you want a genuinely high-quality finish, because working flat on a bench is faster and lets you use larger tools. If you do remove it, number each piece on the back and mark the matching wall, since trim is cut to fit each specific opening.
Trim Sanding Checklist
- Pre-1978 painted trim tested for lead before any dry sanding
- Wall above the trim masked with tape and card
- Floor or carpet protected with card or hardboard
- Quarter-sheet sander for flat faces, sponges for profiles
- Detail sander ready for mitred and internal corners
- Low speed and light pressure on painted surfaces
- Working along the length, never across it
- Flat faces first, then profiles, then corners
- Filled after the first sand, not before
- Stopped at 150–180 for anything being painted
- Raking light used to check for missed patches
- Vacuumed and tack-clothed before painting
Final Thoughts
Trim work is not about power, it is about shape. The flat parts take minutes; the corners and profiles take the time, and no amount of horsepower changes that.
Get a quarter-sheet sander for the faces and corners, buy a pack of sanding sponges for the mouldings, mask the wall before you start, and test old paint for lead. That is genuinely the whole job.
🔧 What to read next: see palm sanders compared for the square-pad options, and sanders for furniture for doors and panelled work. Check precautions in the dust safety checklist.