A floor drill press does what no handheld drill can — perpendicular, repeatable, controlled holes. Here is what to look for.
⚡ The Short Answer
A floor drill press is the standing version of a benchtop drill press, mounted on a full-height column. The extra height gives you far more capacity between chuck and table, so you can drill long workpieces standing upright, and it frees your bench.
Buy a floor model if you drill tall or long workpieces, want the bench space back, or need serious quill travel. Buy benchtop if your work is small and floor space is tight.
The specs that matter: swing (how far from the column you can drill), quill stroke (how deep in one go), speed range, and table size and adjustment. Motor horsepower is rarely the limiting factor for wood.
Handheld drills are versatile and imprecise. Even careful users drill a few degrees off square, and for joinery, dowels, hinge cups and any hole that must line up with something else, a few degrees is the difference between parts fitting and not.
A drill press removes that variable entirely. The quill only travels in one axis, so every hole is perpendicular to the table. Add an adjustable table and speed control and you have a machine that drills accurately, repeatably, and safely.
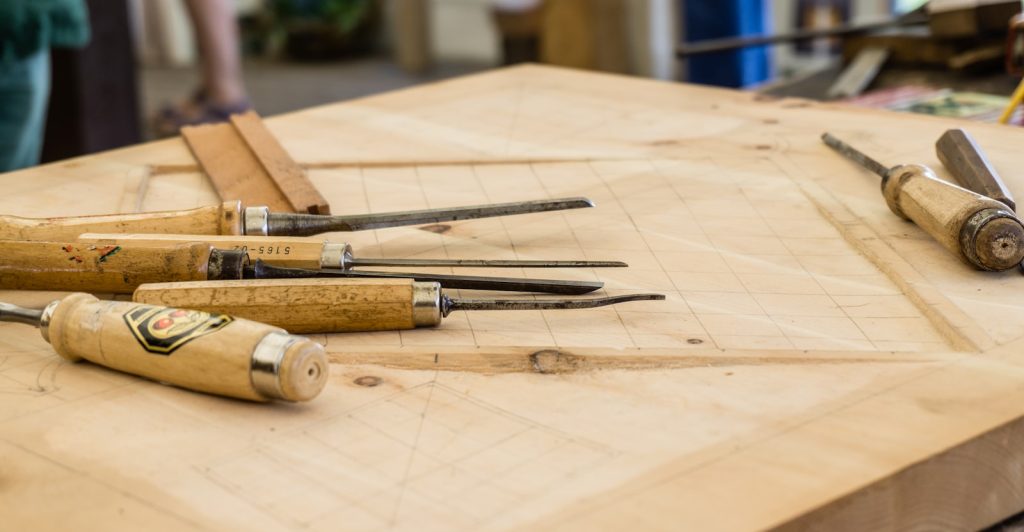
Why a Drill Press Beats a Handheld
- Perpendicular holes. The quill can only move in one direction, so every hole is square to the table. No drift, no angle.
- Repeatability. Set a depth stop and a fence, and every hole in a batch of parts is identical. This is what makes shelf pin holes and dowel joints work.
- Controlled depth. The depth stop means blind holes stop exactly where you want — essential for hinge cups and dowels.
- Correct speed for the material. Large bits in hardwood need slow speeds; small bits in softwood want fast. A press lets you set this properly.
- Safety. The workpiece is clamped and both hands are free. Large Forstner bits and hole saws are genuinely dangerous in a handheld drill.
- Bits that need it. Forstner bits in particular need the steady, square pressure a press provides — freehand they wander and chatter.
🔩 The honest summary: a drill press does not drill faster or with more power. It drills accurately, and accuracy is what most projects actually need.
Floor vs Benchtop
| Factor | 🏛️ Floor model | 🪑 Benchtop |
|---|---|---|
| Capacity under the chuck | ✅ Much greater — long workpieces | Limited by bench height |
| Bench space | ✅ Frees it entirely | Occupies a permanent spot |
| Floor space | Needs a dedicated footprint | ✅ None |
| Stability | ✅ Heavy and planted | Depends on bench and mounting |
| Cost | Higher | ✅ Lower |
| Best for | Long stock, chair legs, tall parts | Small parts, limited space |
The deciding factor is workpiece length. If you ever need to drill into the end of a long board or a chair leg, a benchtop machine will not physically accommodate it — you run out of room between the chuck and the table. A floor model has the column height to lower the table right down and stand tall work upright.
Specs That Matter
- Swing. Quoted as a single figure — a “13-inch” press means the chuck sits 6.5 inches from the column, so it can drill to the centre of a 13-inch wide board. This is the number that limits what you can reach the middle of.
- Quill stroke (vertical travel). How deep the bit can plunge in one movement. Around 3 inches is common and sufficient for most work; less means repositioning for deep holes.
- Chuck capacity. A 5/8 inch chuck accepts larger bits than a 1/2 inch one, which matters for Forstner bits and hole saws.
- Speed range and number of steps. More speeds mean better matching to material. Belt-change machines are cheaper; variable speed is more convenient.
- Table size, tilt and adjustment. A larger table supports work better. Tilt lets you drill angled holes. Rack-and-pinion height adjustment is far easier than loosening a clamp and lifting.
- Depth stop. Essential for repeatable blind holes. Check it is easy to set and holds position.
- Motor power. Around 3/4 HP is plenty for wood and light metal. More matters only for large bits in steel.
Our Picks
Klutch Floor Drill Press — 16-Speed, 13 in., 3/4 HP
Best Value Floor Model★★★★☆ 4.1 out of 5 — solid capability for the money
A 13-inch swing covers most furniture and joinery work, and 16 speeds means you can properly match the speed to bit size and material rather than compromising. The 5/8 inch chuck takes larger Forstner bits and hole saws, and 3-1/4 inches of quill travel is enough for most through-drilling in one plunge. A 1 inch maximum drilling capacity covers serious hole sizes.
- ✅ 16 speeds — proper matching for large bits and different materials
- ✅ 5/8″ chuck accepts larger Forstner bits and hole saws
- ✅ Floor standing — drill long workpieces upright and keep your bench free
- ✅ 3-1/4″ quill stroke handles most holes in a single plunge
- ⚠️ 4.1 rating — good value rather than a premium machine
- ⚠️ Belt-change speeds rather than variable — a lever would be quicker
- ⚠️ Best for: home workshops wanting floor capacity without a premium price
Price and availability change often — the button shows the live Amazon price.
JET 15-Inch Floor Drill Press, 16 Speed, 3/4 HP
Best Build Quality★★★★☆ 4.4 out of 5 — a step up in machine quality
JET is a serious woodworking machinery brand, and the 15-inch swing gives useful extra reach over a 13-inch machine — enough to reach the centre of wider panels. The 16 speeds and 3/4 HP motor cover wood and light metal comfortably, and the higher rating reflects better fit and finish.
- ✅ 15″ swing — reaches the centre of wider stock than a 13″ machine
- ✅ Established machinery brand with parts and support
- ✅ 16 speeds for proper material matching
- ⚠️ Costs more than budget floor models
- ⚠️ Heavy — plan delivery and placement
- ⚠️ Best for: serious hobbyists and small shops wanting a machine to keep
Price and availability change often — the button shows the live Amazon price.
Comparison
| Model | Swing | Speeds | Motor | Best for |
|---|---|---|---|---|
| Klutch 13″ floor | 13 in | 16 | 3/4 HP | Value floor capacity |
| JET 15″ floor | 15 in | 16 | 3/4 HP | Better build, wider reach |
| JET 12″ benchtop | 12 in | Variable | 1/2 HP | Limited space, small parts |
💬 Affiliate disclosure: as an Amazon Associate, DetailSanderGuide may earn from qualifying purchases. This costs you nothing extra and never changes which tools we recommend.
Speed Settings by Material
Getting speed right is the difference between clean holes and burnt, torn ones. The rule is simple: bigger bit, slower speed.
| Bit and material | Speed | Why |
|---|---|---|
| Small twist bits in softwood | Fast | Little heat, clears easily |
| Small bits in hardwood | Medium to fast | Watch for burning |
| Large Forstner bits | Slow | Large cutting edge generates heat fast |
| Hole saws | Slow | Big diameter means high rim speed |
| Steel | Slow, with cutting fluid | Heat destroys both bit and workpiece |
| Acrylic and plastics | Slow | Fast speeds melt rather than cut |
If you see smoke, smell burning or the hole edges darken, the speed is too high for that bit and material. Slow down and ease the feed pressure.
Using One Properly
- Clamp the workpiece. This is the big one. A bit that grabs spins the workpiece into a blur — small parts in particular become dangerous projectiles. Use the table slots, a clamp, or a vice.
- Use a sacrificial backer board under the work. It supports the fibres as the bit exits, preventing blowout, and protects the table from being drilled into.
- Set the speed for the bit before you start, not after you notice burning.
- Set the depth stop for blind holes, and test on scrap first.
- Feed steadily. Enough pressure that the bit cuts and produces shavings, not so much that it strains. Let the tool work.
- Peck deep holes. Withdraw periodically to clear waste and let the bit cool — essential with Forstner bits and in metal.
- Use cutting fluid on steel. Dramatically extends bit life and improves the hole.
- Let the chuck stop on its own. Never grab a spinning chuck to slow it.
- Remove the chuck key every time before starting. A key left in the chuck becomes a missile.
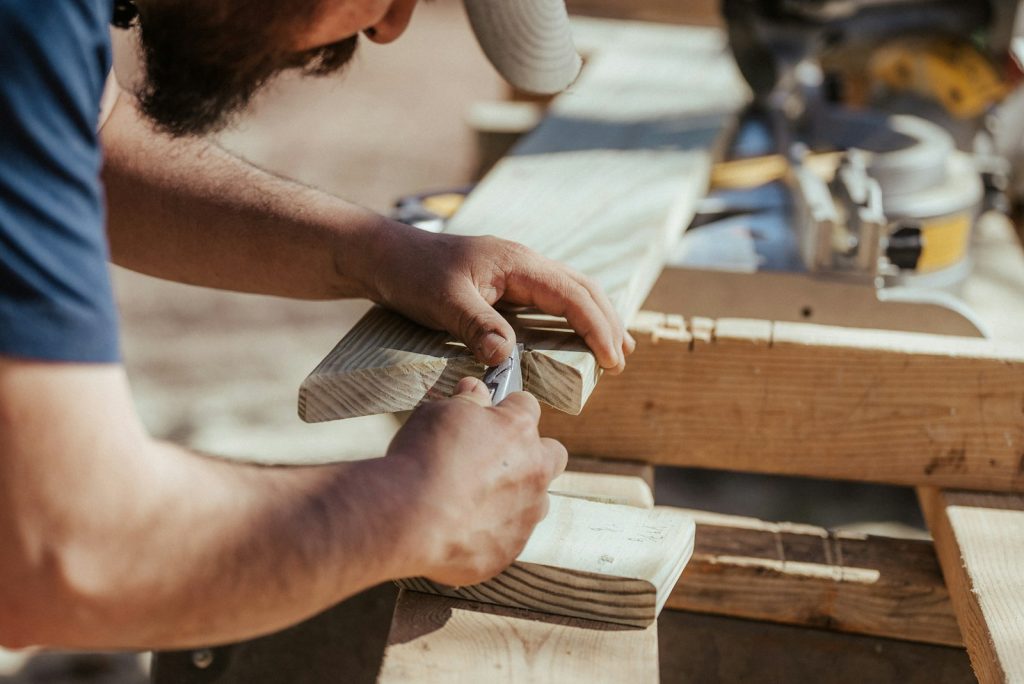
⚠️ Never hold small workpieces by hand. If the bit catches — and it will, especially near the exit of a hole — the workpiece spins with the chuck. Metal parts in particular become sharp spinning blades. Clamp everything, and use a hand-screw clamp or vice for anything small.
Accessories Worth Having
- A drill press vice. Holds small parts securely and squarely. The single most useful addition.
- Forstner bits. These are what a drill press is really for — clean, flat-bottomed holes that are almost impossible to make well freehand.
- A fence. Even a clamped straight batten lets you repeat hole positions across many parts.
- An auxiliary table. A plywood top with a replaceable insert protects the cast table and gives more support for larger work.
- Hold-down clamps. Quick clamps that fit the table slots save constant faffing.
- Cutting fluid if you drill any metal.
- A brad-point set for clean-edged holes in wood without wandering.
Common Mistakes
1. Not clamping the workpiece
Result: the part spins with the bit — genuinely dangerous, especially with metal.
Fix: clamp or vice everything, every time.
2. Running large bits too fast
Result: burning, smoking, ruined bits and scorched holes.
Fix: bigger bit, slower speed. Change the belt or dial.
3. No backer board
Result: blown-out fibres on the exit side and a drilled table.
Fix: always put scrap underneath.
4. Forcing the feed
Result: deflected bits, heat, poor holes.
Fix: steady moderate pressure and let the bit cut.
5. Leaving the chuck key in
Result: it is thrown at speed the moment you switch on.
Fix: make removing it an automatic habit before every start.
6. Buying benchtop then needing floor capacity
Result: unable to drill long workpieces at all.
Fix: think about the longest thing you will ever drill before choosing.
Setting Up a New Machine
Drill presses arrive needing assembly and a little calibration, and a couple of hours here decides whether the machine is genuinely accurate.
Assembly. Base, column, table, head. These are heavy castings and the head in particular is awkward — have someone help you lift it onto the column. Get the base bolted or shimmed level before anything else.
Check the table is square to the quill. This is the calibration that matters. Fit a length of straight rod in the chuck, bend it into an L, and swing it round to touch the table at the front and back, then left and right. Any difference means the table is not square, and every hole you drill will be slightly off. Adjust and re-check.
Check for chuck runout. Fit a straight bit and spin it by hand while watching the tip. Visible wobble means the chuck or arbor is not seated properly — usually fixed by cleaning the taper thoroughly and re-seating it firmly.
Clean off the shipping grease. Machines ship coated in a waxy protectant. Remove it from the table and column with mineral spirits, then apply a light coat of paste wax to the table so work slides and rust stays away.
Set the belt for a mid speed to begin with, and learn where the belt positions are before you need to change quickly.
Extending What It Can Do
- Drum sanding. Fit a sanding drum in the chuck and you have a basic spindle sander for curves — though without oscillation it will burn if you dwell. A dedicated oscillating spindle sander does this far better.
- Mortising attachment. Some presses accept a mortising attachment for square holes, useful for traditional joinery.
- Pocket holes and angled work. A tilting table lets you drill consistent angled holes for splayed legs and braces.
- Repeat drilling with a fence. Clamp a straight batten as a fence and add a stop block, and you can drill identical hole positions across dozens of parts.
- Metal work. With slow speeds and cutting fluid, a press drills steel far more accurately and safely than a handheld drill.
Real-World Examples
The shelf pins that did not line up
Someone drills shelf pin holes freehand down both sides of a cabinet. Each hole is a degree or two off in a slightly different direction, and the shelves rock no matter which way round they go. A drill press with a fence and a stop block produces holes that are identical in position and perfectly perpendicular, so shelves sit flat first time. This is the job that convinces most people to buy one.
The Forstner bit that wandered
Forstner bits cut a flat-bottomed hole with a large circular rim, and freehand they are genuinely difficult — the rim catches, the bit skates across the surface, and the hole ends up oval. In a press, with the workpiece clamped and steady downward pressure, the same bit produces a clean, crisp hole every time. For hinge cups this is the difference between a door that fits and one that does not.
The metal part that spun
A small steel bracket held by hand while drilling. As the bit broke through the far side it caught, and the bracket spun with the chuck — a sharp metal object rotating at speed inches from the operator’s fingers. Nothing was damaged that time, which is the only reason it gets told as a story rather than an injury. Clamping small metal parts is not optional.
Where a Drill Press Fits in a Workshop
If you are working out whether this is the right next machine, it helps to see where it sits alongside everything else.
Before a drill press, most workshops want a decent cordless drill, a saw of some kind, and a sander. Those cover getting material to size and finishing it. A press does not help you cut or smooth anything — it only makes holes better.
A drill press earns its place the moment your projects involve joinery rather than just fixings: dowelled joints, shelf pin arrays, hinge cups, tenons that need accurate mortises, or any batch of parts that must match. It also becomes valuable if you work with metal at all, where accurate perpendicular holes are much harder freehand.
It does not replace anything. Unlike some machines that take over several jobs, a press adds one capability very well. That makes it easy to postpone — and easy to underuse once bought, if you keep reaching for the cordless out of habit.
The people who get most from one tend to be those who set it up properly, keep a vice and a fence beside it, and get into the habit of walking over to it rather than drilling freehand because the drill is already in hand.
Frequently Asked Questions
What does “13-inch drill press” actually mean?
It refers to the swing — twice the distance from the centre of the chuck to the column. A 13-inch press has the chuck 6.5 inches from the column, so it can drill to the centre of a board up to 13 inches wide. It is not the drilling depth or the table size. If you regularly need to reach the middle of wide panels, a larger swing is the specification to prioritise.
Floor or benchtop drill press?
Choose floor if you drill long or tall workpieces — chair legs, long boards, table legs — because a benchtop machine runs out of space between chuck and table. Floor models also free up your bench and tend to be more stable. Choose benchtop if your work is small, your space is tight, or budget is the priority. The deciding question is the longest thing you will ever need to stand upright under the chuck.
What speed should I use?
The rule is that larger bits need slower speeds. Small twist bits in softwood can run fast; large Forstner bits and hole saws need to run slow, because the outer edge is travelling much faster than the centre. Metal needs slow speeds and cutting fluid. If you see smoke, smell burning, or the hole edges darken, the speed is too high for that bit and material.
Do I need a drill press for woodworking?
Not essential, but genuinely transformative for certain jobs. Dowel joints, shelf pin holes, hinge cups, and any hole that must be perpendicular or repeatable are dramatically easier and more accurate. Forstner bits in particular perform far better in a press than freehand. If your projects involve joinery or repeated identical holes, it is one of the more useful machines you can add.
Is more horsepower better?
Rarely the limiting factor for woodworking. Around 3/4 HP handles wood and light metal comfortably, and most people never stall a press of that size in timber. Speed range, quill stroke, table quality and swing all affect what you can actually do far more than motor power. Higher horsepower matters mainly for large-diameter holes in steel.
Drill Press Checklist
- Swing checked against the widest stock you need to reach the centre of
- Floor vs benchtop decided by your longest workpiece
- Quill stroke adequate for your usual hole depths
- Chuck capacity suits your largest bits
- Speed range covers slow settings for big bits and metal
- Table tilt and height adjustment checked
- Space and floor loading planned before delivery
- Workpiece clamped or held in a vice, never by hand
- Sacrificial backer board under the work
- Speed set before starting, not after burning appears
- Depth stop set and tested on scrap for blind holes
- Chuck key removed before every start
- Eye protection on
Final Thoughts
A drill press is not about power — it is about removing human error. Every hole square, every hole the same depth, every hole where you meant it.
Choose on swing and quill stroke rather than horsepower, get a floor model if you ever drill long stock, clamp everything, and match the speed to the bit. The Klutch 13-inch covers most home workshops; the JET 15-inch is the step up worth making if you will keep it for decades.
🔧 What to read next: for handheld work see our budget cordless drill guide, and for masonry the hammer drill guide. Sanding small parts? A benchtop belt sander pairs well with a press.