
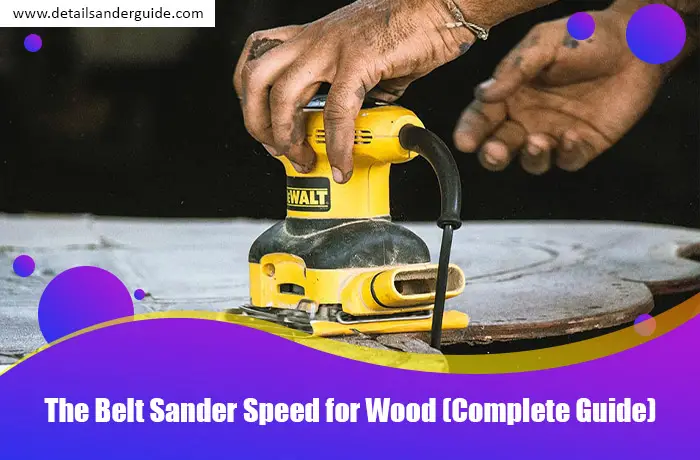
The Belt Sander Speed for Wood (Complete Guide)


66 IN 1 Mini Electric Screwdriver Cordless, Precision Screwdriver Magnetic Bits Set with Case, USB Charging 3 Torques Settings, LED lights, Portable Repair Tool Kit for Phone PS5 Laptop
EUR 39.77 (as of March 1, 2026 15:29 GMT +00:00 - More infoProduct prices and availability are accurate as of the date/time indicated and are subject to change. Any price and availability information displayed on [relevant Amazon Site(s), as applicable] at the time of purchase will apply to the purchase of this product.)🔧🔧Precise Torque Control: The mini electric screwdriver set offers adjustable torque settings from 0.1 to 0.35N·m, complemented by a electric mode with 3 N·m torque. Its versatility ensures the precision needed for repairing electronic devices, such ... read more


Stadea 4" PPW129B Diamond Polishing Pads Grit 400 Wet for Concrete Travertine Marble Terrazzo Glass Granite Stone Polishing, Pack of 2
EUR 8.88 (as of March 1, 2026 16:43 GMT +00:00 - More infoProduct prices and availability are accurate as of the date/time indicated and are subject to change. Any price and availability information displayed on [relevant Amazon Site(s), as applicable] at the time of purchase will apply to the purchase of this product.)Resin based Diamond abrasive, 4" Diamond Polishing Pads Wet Grit 400 - 2 Pieces Used with Wet Grinders Polishers variable speed/constant speed Used for Granite, Concrete, Marble, stones, tiles polishing Optimal RPM 2200 Max RPM 4500 Also available in... read more
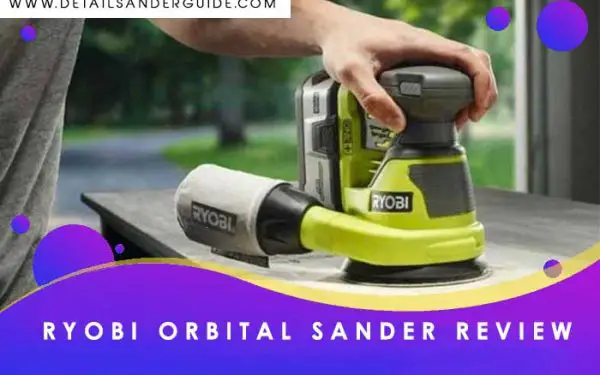
Hello, folks welcome to another exciting article on the belt sander. In this article, you will find out THE Best guide about belt sander speed.
WHY AND WHERE TO USE A BELT SANDER FOR WOOD
Let’s start with the very basic question and that is why and where we should apply the belt sander for our wood projects. As many of you know that this tool is composed of two rotating drums wrapped with sandpaper. The use of belt sander is not limited to a specific purpose it can be applied to grind the stuck wooden door for fixing it, smoothing the wood surface and to shape the wood. Recently we also wrote a detailed article on the best belt sander. You may also check that.
SOME COMMON USES OF BELT SANDER ARE
- If you have outdoor furniture installed and the weather conditions had damaged its shine and look. Then the belt sander is the ideal tool to give them a brand new look by removing stains and bring back the natural finish of the furniture without damaging it.
- Being a house owner you must be aware of stuck wooden windows and doors due to humidity and heat. Instead of calling a carpenter for this you can easily fix this problem by using a belt sander and removing 1/16 to 1/8 inches of the surface by sanding it.
- You may use it in your weekend projects for fun as a hobby in your garage.
- As a professional, this is a helpful tool for you to handle the wood surface in the making of the furniture.
You May Also check
CHOOSING GRIT OF SANDPAPER FOR SAND BELT SANDER
You can choose the grit of the sandpaper as per your purpose of using the tool.
While dealing with the protective wood coatings or to remove dark stains the recommended sandpaper is of grit 60 – 80.
If the purpose is to sand wood of shelves and cabinets, the comparative finer grit of 100 -220 is recommended. Please remember that the choice of the sandpaper grit for metals are entirely different while choosing it for wood.
Despite of the facts narrated above the thumb rule to choose the sandpaper is your desire that how much wood you want to remove in a single move.
THE APPROPRIATE SPEED OF THE BELT SANDER FOR DIFFERENT WOOD PROJECTS/MATERIALS
- Not all belt senders give you the liberty to set its speed. This feature enables you to handle different material better and appropriately as per the purpose of the use.
- This feature is helpful for both professionals and amateurs. The speed of the tool can be adjusted in resolution per minute (rpm).
- The speed adjustment feature prevents the rough finishes and saves the user from the injury.
- The high rpm that is the fast speed is appropriate to cover a large area or for the rough sanding.
- Always remember that the increasing speed will be accompanied by the decreasing control of the tool.
- On the other hand, the slow speed of a belt sander is appropriate to give the final finish or a fine finish to the wood.
- In contrast to the high speed, the slower speed gives you the liberty to remove the wood layer by layer if you are not sure about the amount of the wood to be sand off.
- While the high belt sander speed is appropriate when you are sure about the amount of wood to be removed and is in large quantity.
THE TECHNIQUES TO USE A BELT SANDER ON WOOD
A firm grip is necessary to handle the power tools like belt sander otherwise these can cause damage to working material or even to user. First, turn on the power and then apply it on the surface. If you do it otherwise the required results may not be obtained.
THE MOVEMENT
The first movement of the belt sander should me forward followed by the backward movement. Apply pressure wisely and always remain in line with the grain. A belt sander is not made for circular movements.
AVOID GOUGING
Too much pressure or applying the sander on the same area again and again may result in the gouging of the wood. Gouging guides are available use them to avoid dipping the sander incorrectly.
THE PERFECT ANGLE
To safely cross-grain hold the sander at an angle of 45 degrees to the grain after done with one direction do the same on the other direction with the same angle of 45 degrees. This grain technique requires grit sandpaper of 80 -100 and is useful to remove the top layer of the wood by creating a less bowed effect
PROTECTING THE BELT SANDER
This is important to protect your tool for long and effective use the belt sender is of no exception too. After a few uses, the dust will start to build upon the tool brush it so you can enjoy the smooth working of your tool.


AOBEN Cordless Electric Ratchet Wrench Set, 3/8" 12V Power Ratchet Tool Kit With 2 Packs 2000mAh Lithium-Ion Battery And Charger
EUR 63.47 (as of March 1, 2026 16:44 GMT +00:00 - More infoProduct prices and availability are accurate as of the date/time indicated and are subject to change. Any price and availability information displayed on [relevant Amazon Site(s), as applicable] at the time of purchase will apply to the purchase of this product.)⚡ Powerful Torque - AOBEN electric ratchet wrench offers 12 Volt Max motor and plenty torque at 40ft-lbs to remove or install bolts (or nuts). Includes 2 battery, (Fully charge the battery before first use)1 charger and 8 bolts. ⚡Superior Fastening S... read more


Tineco Floor ONE S7 Stretch Ultra Cordless Wet Dry Vacuum Cleaner, 180°Lay-Flat Anti-Tangle Design, 50 Minutes Runtime, 185℉ Flashdry Self-Cleaning, Dual-Sided Edge Cleaning Floor Cleaner
EUR 371.54 (as of March 1, 2026 16:43 GMT +00:00 - More infoProduct prices and availability are accurate as of the date/time indicated and are subject to change. Any price and availability information displayed on [relevant Amazon Site(s), as applicable] at the time of purchase will apply to the purchase of this product.)180° Lay-Flat Design: Effortlessly reclines fully to 180°, allowing for easy maneuvering under furniture or into low areas to clean hidden dust. DualBlock Anti-Tangle Design: The dual-layer scrapers prevent hair tangling and clogging by capturing hai... read more