Air belt sanders — bandfiles — reach into welds, tubes and corners nothing else touches. Here is what they do and what your compressor needs to run one.
⚡ The Short Answer
An air belt sander, often called a bandfile, runs a narrow belt on a slim arm. Typical sizes are 1/2″ or 3/4″ wide by 18″ to 20″ long. That thin arm is the entire point: it reaches into welds, inside tubing, along seams and into corners that no disc or orbital sander can enter.
They are metalworking tools first. Weld dressing, deburring, rust removal in tight spots, exhaust and roll-cage work, fabrication cleanup.
The catch is air supply. These run continuously at very high speed and consume a lot of air. Check your compressor’s sustained CFM, not its peak figure, before buying.
Air belt sanders are one of those tools most DIYers have never used and most fabricators would not work without. They solve a specific and genuinely awkward problem: how do you clean up a weld inside a corner, or deburr the inside of a tube, or smooth a seam where a 5″ disc physically will not fit?
The answer is a belt about the width of your finger on an arm you can angle into almost anything. This guide covers what they are good at, what your compressor needs to supply, belt selection for metal, and the safety issues that come with grinding steel.
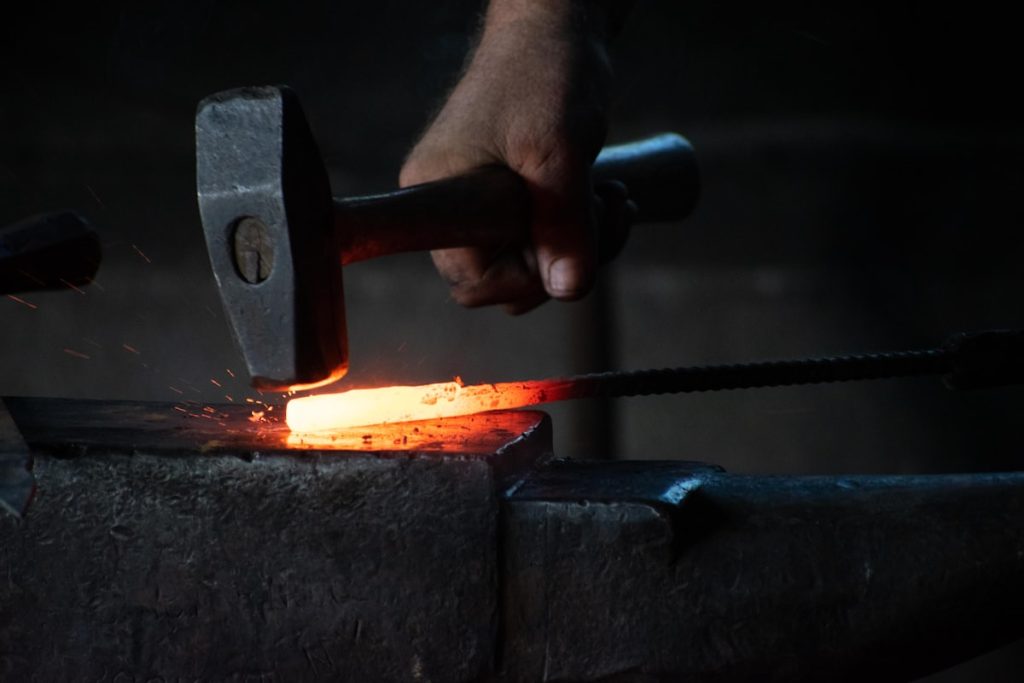
What a Bandfile Actually Does
The tool is simple: a compact air motor drives a small belt around a slim arm that sticks out from the body. You present the belt to the work like a file — hence the name.
Where it earns its place:
- Weld dressing. Knocking down a weld bead flush without gouging the surrounding metal. The narrow belt concentrates cutting exactly where you want it.
- Inside corners and seams. A disc grinder cannot get into an internal angle. A bandfile arm can.
- Tube and pipe work. The arm follows a curve and the belt wraps slightly, which suits round stock.
- Deburring. Fast removal of sharp edges after cutting or drilling.
- Rust in tight areas. Chassis rails, box sections, behind brackets.
- Fabrication cleanup generally — anywhere a big tool is the wrong shape.
What it is not: a woodworking sander. You could use one on wood, but the narrow belt covers almost no area, and for flat wooden surfaces a handheld belt sander or random orbital does the job far faster. Think of a bandfile as a powered file rather than a sander.
🔧 The way to think about it: a grinder removes material from open surfaces. A bandfile removes material from places you cannot reach with a grinder.
Compressor Requirements — Read This First
This is where most disappointment with air tools comes from, and it is worth being blunt about.
Air sanders are among the thirstiest tools in the pneumatic range. Unlike an impact wrench or a nail gun, which fire in short bursts and let the compressor recover, a sander runs continuously for minutes at a time. It draws air the entire time.
What to check:
- Sustained CFM at 90 PSI, not the peak or “displacement” figure on the box. Compare the compressor’s continuous output against the tool’s stated requirement.
- Tank size matters less than you think. A big tank buys you a longer run before the compressor struggles, but if the pump cannot keep up you will still end up waiting.
- Hose diameter and length. A long, thin hose starves the tool. Use an adequately sized hose and keep it as short as practical.
- Fittings restrict flow. Undersized quick-connect couplers are a common hidden bottleneck.
- Water and oil. Use a filter or water trap. Moisture in the line damages air motors over time.
If your compressor is a small portable unit sized for a nail gun or tyre inflation, it will not run an air sander satisfactorily. That is not a fault in either product — they are simply designed for different duty cycles.
⚠️ Check sustained CFM before you buy. The single most common regret with air sanders is discovering the compressor cycles constantly and the tool never reaches full speed. If your air supply is limited, an electric tool is the better route.
Specs That Matter
- Belt size. 1/2″ x 18″ is the common compact size for tight work; 3/4″ and 20″+ options cover more area but fit into less. Match it to the access you need.
- Arm design. Some arms are fixed, some pivot or can be repositioned. A pivoting arm is far more useful when working around obstructions.
- Belt speed (SFM). Surface feet per minute tells you how aggressively it cuts. Higher speeds remove metal faster and generate more heat.
- Motor power (hp). Determines whether the belt keeps moving under pressure. A belt that stalls rubs rather than cuts.
- Exhaust direction. Air tools vent their exhaust somewhere — a rear or directed exhaust keeps the blast off your work and away from your face.
- Belt tracking and change mechanism. You will change belts often on a narrow tool. A tool-free tensioning lever is worth having.
- Weight and balance. These are often used in awkward positions — under a vehicle, inside a frame — so a compact, well-balanced body matters.
Our Pick
Ingersoll Rand 360-418 Air Belt Sander, 1/2″ x 18″
Best Bandfile★★★★★ 4.6 out of 5 — professional shop standard
Ingersoll Rand is the name you see in fabrication and body shops, and this is their compact bandfile. The 1/2″ x 18″ belt is the size that reaches into welds, seams and tube work, and the 0.6 hp motor at 20,000 RPM delivers 4,700 surface feet per minute — genuinely fast material removal for a tool this small.
- ✅ Compact 1/2″ belt reaches welds, seams and inside corners
- ✅ 4,700 SFM — removes metal quickly for its size
- ✅ Shop-grade build from a brand built around pneumatic tools
- ✅ Light in the hand for awkward positions and overhead work
- ⚠️ Needs a genuine compressor with sustained CFM, not a portable unit
- ⚠️ Narrow belt covers little area — this is a detail tool, not a surfacing one
- ⚠️ Best for: fabrication, weld dressing, exhaust and chassis work, deburring
Price and availability change often — the button shows the live Amazon price.
Comparison
| Tool | Power | Belt / pad | Compressor | Best for |
|---|---|---|---|---|
| Ingersoll Rand 360-418 | Air, 0.6 hp | 1/2″ x 18″ | ✅ Required | Welds, seams, tight metal work |
| Ingersoll Rand 328B DA | Air, geared | Round pad | ✅ Required | Body filler and panel work |
| WEN 1″ x 30″ benchtop | Electric | 1″ x 30″ | ❌ No | Small parts brought to the machine |
| Makita 9903 | Electric | 3″ x 21″ | ❌ No | Wood surfaces — not a metal tool |
💬 Affiliate disclosure: as an Amazon Associate, DetailSanderGuide may earn from qualifying purchases. This costs you nothing extra and never changes which tools we recommend.
Belts for Metal
Belt choice matters more than tool choice here, and the wrong abrasive will make a good tool feel useless.
| Abrasive | Best for | Notes |
|---|---|---|
| Zirconia | General metal removal, weld dressing | The default choice — durable and cuts cool |
| Ceramic | Heavy stock removal, hard alloys | Cuts fastest and coolest, costs more |
| Aluminium oxide | Light work, wood, softer metals | Dulls quickly on hardened steel |
| Surface conditioning | Blending, finishing, removing scratches | Non-woven — cleans up without cutting deep |
Grit guide: 40–60 for knocking down welds and heavy removal, 80–120 for blending and refining, 180+ or surface conditioning belts for finishing before paint.
Change belts early. On metal especially, a worn belt stops cutting and starts generating heat — which discolours the workpiece and can distort thin panels. Belts are consumable; heat damage is not repairable.
How to Use One Properly
- Set up the air supply. Drain the compressor tank, fit a water trap, and use an adequately sized hose. Oil the tool if the manufacturer specifies it — most air motors need a drop of air tool oil regularly.
- Fit the belt the right way round. Check the direction arrow inside the belt. Backwards, the joint can peel.
- Check tracking by running the tool briefly in free air. The belt should sit centred on the arm.
- Secure the workpiece. Clamp it or vice it. A bandfile will push a loose part around, and metal edges are sharp.
- Start off the work, let the belt reach full speed, then bring it into contact.
- Use the flat of the belt for surfaces, the nose for tight corners. The rounded tip of the arm is what reaches into an internal angle.
- Keep it moving. Dwelling in one place cuts a hollow and builds heat rapidly.
- Light pressure. Let the abrasive cut. Pressing slows the belt, generates heat and wears the belt faster.
- Come off the work before releasing the trigger, and let the belt stop before setting the tool down.
For weld dressing specifically, work along the weld rather than across it, and stop as soon as the bead is flush. It is very easy to keep going and cut into the parent metal either side, which weakens the joint and leaves a visible dip.
Heat and Workpiece Damage
Heat is the main risk with any metal sanding, and a bandfile concentrates its cutting into a narrow strip, which concentrates the heat too.
- Thin sheet distorts. Body panels and thin box section will warp if you build heat in one spot. Move around and let areas cool.
- Discolouration is your warning. Straw, brown, purple or blue tints in steel mean it has got hot. On hardened parts that means the temper is affected.
- Stainless is especially heat-sensitive. It conducts heat poorly, so the immediate area gets hot fast and discolours readily.
- Fresh belts run cooler than worn ones, because they cut instead of rubbing.
- Keep a rag or water nearby for quenching small parts, and touch the work occasionally to gauge temperature.
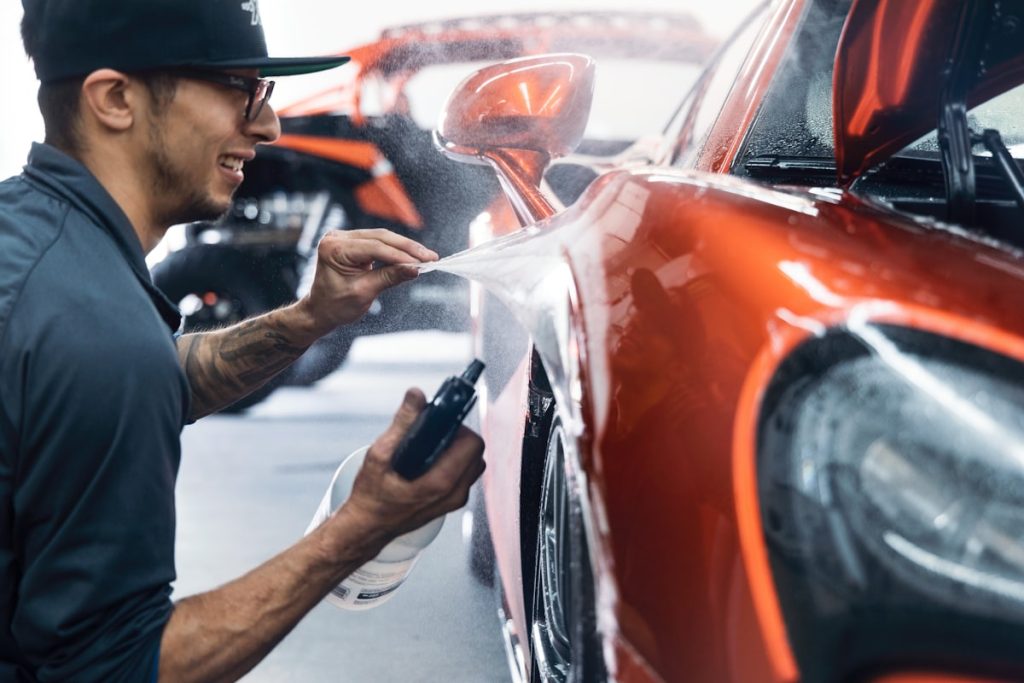
Safety — Sparks and Steel Dust
Grinding metal brings hazards that woodworking does not, and they are worth stating plainly.
- Eye protection is essential. Impact-rated glasses at minimum, a face shield for heavy work. Hot metal particles travel at speed and at face height.
- Respirator, not a dust mask. Metal dust is fine and sharp, and some alloys are considerably more hazardous than others. Grinding coated or galvanised metal releases additional fumes.
- Fire risk is real. Sparks plus accumulated wood dust, solvent rags, or fuel residue is a genuine ignition source. Never use a metal tool in a space full of sawdust, and clear flammables before starting.
- No loose clothing or gloves near the belt. A glove that catches on a moving belt pulls your hand with it.
- Watch where sparks land. They travel further than you expect and can smoulder in fabric or debris for a long time before igniting.
- Hearing protection. Air tools are loud, and the exhaust noise is continuous.
- Sharp edges. Freshly ground metal leaves burrs that cut skin easily. Deburr and handle with care.
General dust guidance is in our dust safety checklist, with the fire and eye protection points above being specific to metalwork.
Common Mistakes
1. Undersized compressor
Result: the tool never reaches full speed and the compressor runs constantly.
Fix: check sustained CFM before buying, or choose an electric tool.
2. Dwelling in one spot on thin metal
Result: heat distortion that cannot be sanded out.
Fix: keep moving, work in sections, let the metal cool.
3. Grinding past flush on a weld
Result: a dip either side of the weld and a weakened joint.
Fix: stop as soon as the bead is level with the parent metal.
4. Using worn belts
Result: heat, discolouration, slow progress.
Fix: change belts early — they are the cheap part.
5. No water trap on the air line
Result: moisture damages the air motor over time.
Fix: fit a filter and drain the tank regularly.
6. Using it on wood expecting a sander
Result: extremely slow progress on any real area.
Fix: bandfiles are powered files. Use a belt or orbital sander on wood.
Real-World Examples
The exhaust that needed a narrow belt
Fabricating or repairing an exhaust means welding round tube, and the resulting beads sit in a curve where a flat disc grinder cannot follow. A bandfile arm wraps slightly around the tube and dresses the weld evenly, which is exactly the geometry it was designed for. This job alone is why many fabricators own one.
The chassis rail that a grinder could not reach
Rust inside a box section or behind a bracket is one of the most awkward jobs in vehicle restoration. A 4-1/2″ grinder simply will not fit. The slim arm of a bandfile slides into the gap, and the narrow belt cleans back to bright metal without disturbing everything around it.
The compressor that could not keep up
Someone buys an air bandfile for a restoration project and pairs it with a small portable compressor. The tool spins up, cuts for a few seconds, then slows while the compressor labours. Nothing is broken — sanders simply draw air continuously, and portable units are built for intermittent tools like nail guns. Checking sustained CFM before buying avoids the whole disappointment.
Maintenance
Air tools are mechanically simple and last a very long time if you look after the air rather than the tool.
- Drain the compressor tank regularly. Condensation collects and gets pushed down the line into the tool. Water is the main killer of air motors.
- Fit a filter or water separator at the outlet, and check it periodically.
- Oil the tool as specified. Most air motors want a few drops of air tool oil at the inlet before use. Do not substitute other oils — they can gum the vanes.
- Blow the tool through occasionally and store it clean. Metal dust finds its way into everything.
- Check the arm and rollers for wear. A worn roller causes tracking problems that look like a belt fault.
- Release belt tension for long storage so the rollers do not develop flat spots.
- Keep couplers clean. Grit in a quick-connect restricts airflow and is easily overlooked when diagnosing a tool that feels underpowered.
Frequently Asked Questions
What is an air belt sander used for?
Metalworking in tight spaces. The narrow belt on a slim arm reaches into welds, seams, internal corners, tubing and behind brackets — places a disc grinder or orbital sander physically cannot fit. Common jobs are weld dressing, deburring, rust removal in confined areas, exhaust and chassis work, and general fabrication cleanup. They are sometimes called bandfiles, which describes the function well: a powered file rather than a surfacing sander.
What size compressor do I need for an air belt sander?
Enough sustained CFM at 90 PSI to match the tool’s requirement — check the specification for the model you are buying rather than relying on a general figure. The important point is that sanders run continuously rather than in bursts, so they need continuous airflow. Compare against your compressor’s continuous rating, not its advertised peak. Small portable compressors sized for nail guns will not keep up, and the tool will feel weak.
Can I use an air belt sander on wood?
You can, but it is rarely the right tool. The belt is only around half an inch wide, so it covers almost no area — sanding a wooden surface with one would take a very long time. It can be useful for shaping small wooden parts or reaching a tight internal corner. For any real wood surface, a handheld belt sander or a random orbital will be dramatically faster.
What belts should I use for weld dressing?
Zirconia belts in 40 to 60 grit for knocking the bead down, then 80 to 120 to blend it into the surrounding metal. Ceramic belts cut faster and cooler if you are doing a lot of it or working harder alloys. Finish with a surface conditioning belt if the area will be painted or left visible. Change belts as soon as cutting slows — a worn belt generates heat rather than removing metal, which risks distorting thin material.
Air or electric for this kind of work?
Air is the traditional choice in fabrication and body shops because the tools are light, compact, cheap to buy and can run continuously without overheating. The trade-off is that you need a substantial compressor. If you already have shop air, air tools are excellent. If you do not, an electric equivalent avoids the infrastructure cost entirely — though genuinely compact bandfile-style electric tools are less common than their air counterparts.
Checklist
- Compressor sustained CFM checked against the tool’s requirement
- Water trap fitted and tank drained
- Adequately sized air hose, kept short
- Air tool oil applied if the manufacturer specifies it
- Belt fitted with the direction arrow correct
- Tracking checked with the tool running in free air
- Workpiece clamped securely
- Eye protection and respirator on — not a paper mask
- Flammables cleared and no sawdust in the area
- Hearing protection on
- Tool kept moving, no dwelling on thin metal
- Belts changed as soon as cutting slows
- Stopped as soon as welds are flush
Final Thoughts
An air belt sander is a specialist tool that becomes indispensable once you own one — but only if your air supply can feed it. That is the honest gate on this purchase.
If you have a proper compressor and you fabricate, weld or work on vehicles, the Ingersoll Rand 360-418 reaches places nothing else will. If you do not have shop air, spend the money on an electric tool instead — a starved air sander is a frustrating thing to own.
🔧 What to read next: for panel work see DA sanders for auto bodywork, and for blade and metal shaping on a bench see belt grinders for knife making.